Thursday 30 April 2015

Creative Expression's Thursday

Hi folks

I hope you like this one  it is completely different from yesterdays except they both had butterflies lol , yesterday was real artsy and inky butterflies soaring amongst the dragonfly and today's are much more whimsical and abstract. I love the colour of card on this one too, I remember seeing a huge Harley Davidson Motor bike many moons ago in this exact colour scheme a very nice blue with white wall tyres. Anyway without further reminiscing haha.

Here is today's card , a simple, Thinking of You sentiment today.


This is a nice easy one for you today, I have used Periwinkle blue card with Milk card from the Foundations cardstock line for all my matting  and layering.
To start.


 I took a small square of Periwinkle card and using Perfect Medium embossing ink and True white embossing powder I started by stamping the Oval frame with the Butterflies and bubbles from John Lockwods Butterfly Dreams set of clear stamps and heat setting I then chose the sentiment I wanted from the same set, as there is quite a choice with this collection of stamps. I again stamped and embossed the words.
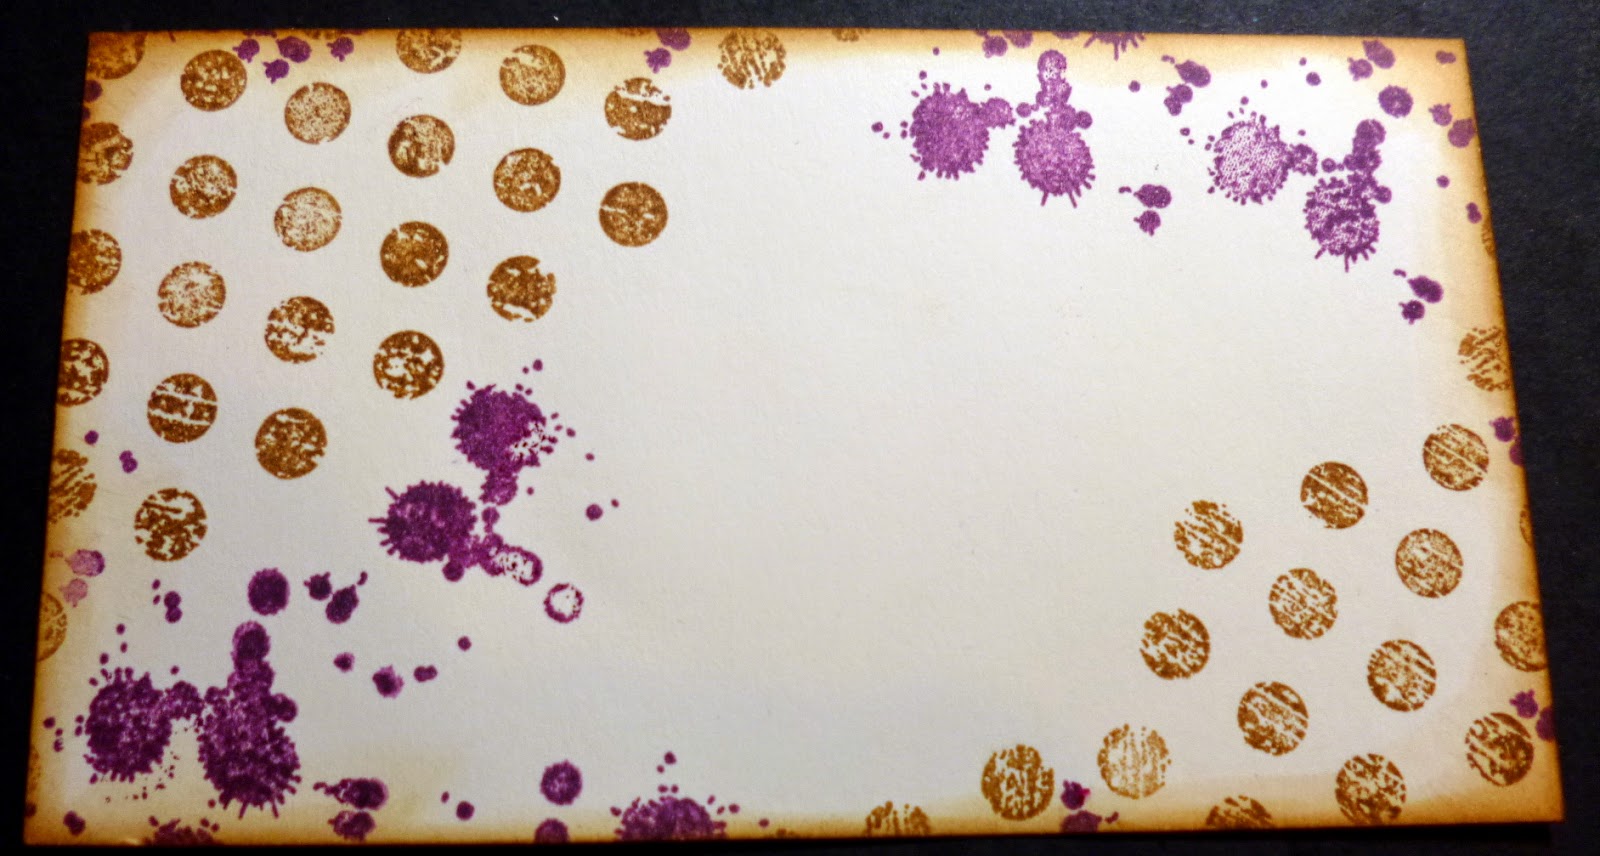
Next I took the small stamp that looks just like groupings of bubbles and again perfect medium and began adding the pattern randomly around the edge of the page , Once I got to the end I checked to see I was happy with the pattern.


I took some Salty Ocean Distress ink and a water brush and filled in some of the bubbles with the colour to deepen the pattern edge.


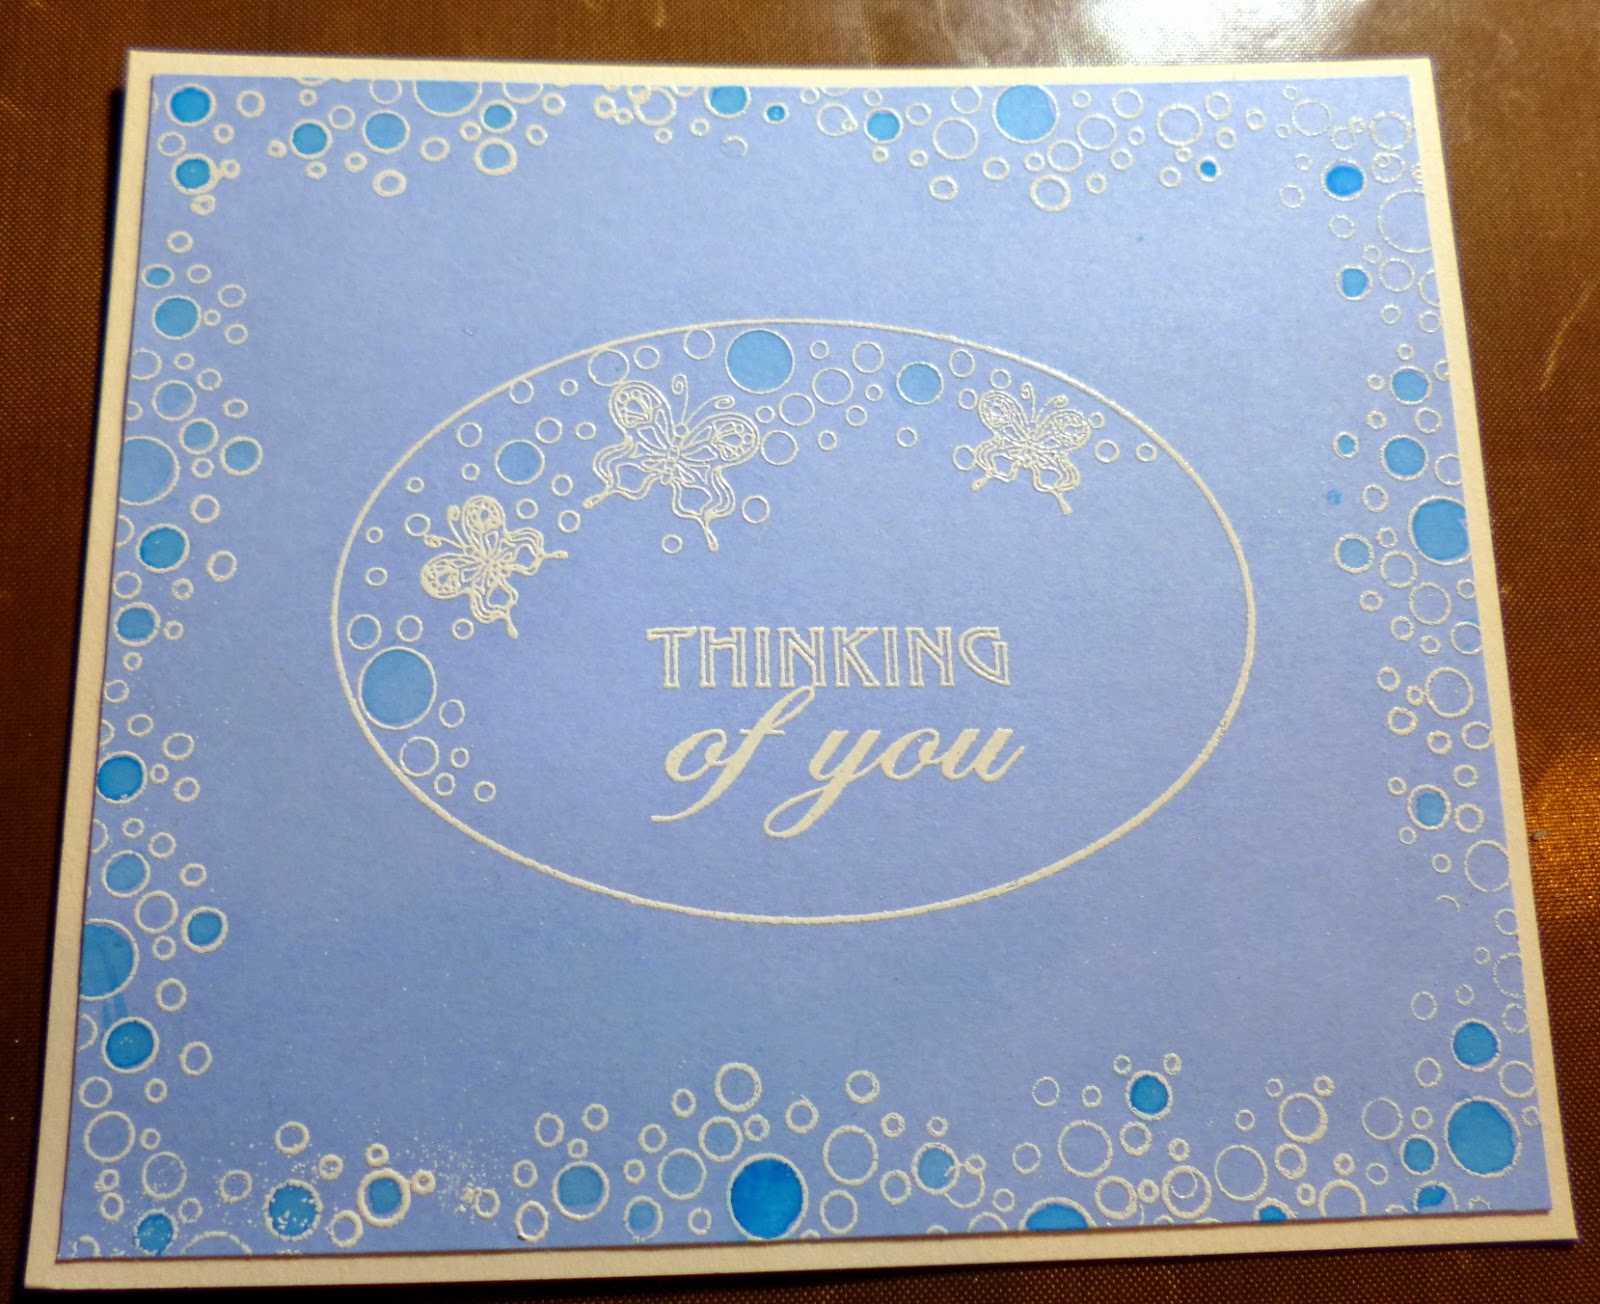
I also matted the blue card onto a piece of milk card for stability at this stage too. I also coloured some of the circles with a Stardust sakura pen in a sparkly gold colour which is very translucent so you can still see the blue through it from the card.


Again a couple more layers of card before I set this piece aside to work on the backing section for this front piece to rest on with foam in between.


So as you can see here I took another piece of the blue card and wrapped it with a small strip of White crinkle edge ribbon which is one of my favourite ribbons, itis so very versatile and can be melted into flowers too so absolutely no waste with any of this one, even the smallest pieces. I then backed that blue card with 2 layers of milk colour card and then I added foam to the back of that before mounting on to another piece of milk card. This was my backing piece for the first section we worked on with the embossing pattern.


I tied a bow from Crinkle edge ribbon which is one of my favourites as it is so versatile, even the smallest pieces can be saved as it can be melted into flowers etc.
I had some small wooden butterflies in my stash so I inked the edges of one and added that to the bow to cover the knot and a little bubbly pearl on top of that.

I stamped one of the little butterflies and cut out from the blue card and added some sparkly pen to it.
I also added some Little pearls to the centre on random of the little bubbles /circles in white and blue and in several sizes for something a bit different.

Here is a couple more view of the full picture again.

 Here is the central section with the pearls.

And lastly he full image again.


Hope you all have a lovely Thursday with lots of love to all


Kim 
XXXX

Wednesday 29 April 2015

Visible Image Wednesday

Hi Lovely blog family folks

Thank you all so very much for your kind words of support last week  it meant the world to me and I am very grateful to have such wonderful ladies and gents (maybe)popping in each week to see me.

Today of course is the turn of my very special team Visible Image to be featured on our little  blog
each week I have been featuring just a couple of stamps to do some different styles of cards each week without using too many stamps but I really wanted to use a few more this time so I used quite a few on this one.
A few weeks ago I don't know if you remember but I did a card in all grey (not quite 50 shades but a few haha) with a pop of colour  and I just love that style its so elegant so I thought Id have another go at it, I hope you like it , I really truly love this style and enjoy creating it for you all to see.


I just love the dreamy soft background effect , with the grasses billowing at the front .

So to start this one I took some plain white card and perfect medium sticky ink with some clear embossing powder  to create those gorgeous billowy white strands of grass which seem to sit right at the front of where your eye is pulled to look with the sentiment , below you can see that the melted embossing powder really stands proud once the inks start to be rubbed into the images.


Here I moved on to the sides of the card and began stamping some of the Bronte border stamp randomly, in fact, I love this stamp so so so much I ended up putting a lot more on the card than I originally intended haha I was using a combination of 2 different Momento Grey ink pads for this stage London Fog and Grey flannel were the shades.
I also stamped some of the Small butterfly stamp flying off the top of the page.

This is where I knew I had to leave a gap but had no clue what size haha.. I started to add some of the momento inks to the edges to give the card a good grounding and pull the eyes to the centre.

This is the first layer of ink and you can already see a huge difference cant you  folks.


Next I used the grey momentos again and re stamped the grass over the white embossing so that there is darker grass peeking from behind the white, I also stamped out 2 of the larger butterflies I also took a couple of shades in the Ice greys from the promarker alcohol pen selection and drew close next to the blades of grass created before. I have also given the butterflies a very small outline around the butterflies too which again is all designed as an illusion making it look like the blades of grass could almost be walked through and I just love it all in grey scale too. 

So here is where I start to bring in a little colour , I stamped out my two dragonflies, I used my momento ink and a water brush to pull out a little colour and add some little extras to the butterflies too.
I also stamped the word believe from the  Follow your dreams set, I again used my promarkers in a few shades of ice grey to make it pull off the page a lttle.


Here are the two blues I used to pull in some colour on the dragonflies etc.


 I also stamped out the other sentence in the little Follow your dream set, and rolled up the corners a little flicked some water and highlighted the edges of the little circles to make them look like bubbles. I used a white gel pen for that.


 So the last couple of pictures were just a few final finishing touches really, with the tiny burlap bows with the little sparkle stones for the centre. I added the sentiment onto foam and added it to the card and used bucket load of glitter onto some glossy accents but as per usual you cannot really see too much of the glitter picking up the light through the screen but this one really does sparkle lots.


I was really please how this card came out you could do this style with any colour , using just a couple of shades of a bland colour on its own but as soon as you add the .


                                        Dragon fly.                                                                                                                       


  I said I used a few  lol......

So I hope you will dig out whatever stamps you have and have a go at creating something like this with a sepia background or a black and white background or maybe you will attempt the grey scale, it truly is great fun to try and looks stunning with just that suggestion of colour. 

I would love to see your finished pieces as you know I am always happy to show anything off that you are proud of so do not hesitate to show off your work .


Lots of love and hugs       


Kim 
XXXX                                   
                                                                                                                                                                                                                                                                                                                                                                                                                                                                                                                                                                                                                                                                                                                                                                                                                                                                                                                                                                                                                                                                                                                                                                                                                                                                                                                                                                                                                                                                                                                                                                                                                                                                                                                                      

Thursday 23 April 2015

Creative Expressions Thursday

Hi Folks

Thursday again..

Before we get started I just wanted to address something and to thank you to the lovely ladies who emailed me to let me know the comments on the blog were acting up yesterday.
Last Thursday infact I did my usual post for CE and all you lovely ladies left your comments as always but unfortunately I also received a very nasty comment aimed at me personally which was not pleasant so I deleted it, this week I decided to play with the settings and remove the ease for anonymous people to post such need to be haters for want of better words. It obviously caused other issues which I think I now have ironed out so thank you so much Pat and Patricia for letting me know you had tried to comment.
It is sad when some individuals who do not know you or your life think it is ok to be personal but of course I have so many more of you who are real and kind and very special to me each and every one of you and of course my son who sometimes helps me with the admin when he gets chance amongst doing his PhD and running a business and teaching at uni etc lol reminded me how easy it is to collect the IP address from the nasty comments to know who it is and to pass information onto the correct authorities etc. With that said I simply do no want this to upset any of us as it isn't worth our time.

So lets get started on this little gold and pink number shall we....


I really did not have a plan for this one I wanted to be very randam and so I started by getting a few mats and layers with Blossom Foundation card and using the lovely soft gold card too, I find it so much nicer than full on mirror card which is lovely for small edging and for die cuts but on a subtle print paper I think it can over power and steal the show somewhat lol...
As you see in this full picture I chose a couple of the papers from last months paper pack Vintage rose garden as I still had lots left to provide interest in the backdrop.

 I started with this printed piece on blossom card, the backing has writing in feint green letters , towards the end of the card I actually stamp the little lotus in the same colour green from John's Lotus elements stamp set to add interest along the bottom too.

 Here are the other mats and layers in varying sizes to work with too.

Back to the first piece I added a line of thin double sided tape and some pink seam binding in a  blush colour which I did by folding up like a concertina and sticking down then adding a dot of cosmic shimmer glue beyond the folds to hold them down so they didn't sit straight up like in this picture.


At this stage I lined up the mats ready for sticking down to see if all blended together nicely which It did. you can just see those feint little lotus shapes on the bottom of the mat with the concertina ribbon on.Once I was happy with the placement I went ahead and added foam to the back of some of the mats and not others or it would be wayyy too thick as you can see I use a lot of mats as I think it looks so much more professional than just a couple for some reason although that is a personal preference ting and of course if it needs to fit in an envelope is another issue along with P&P charges ( shall we not get started on that one lol)this post would be wayyyyy too long then wouldn't it folks hehe....

So for my little front focal point with the sentiment I start with a little piece of blossom card which on here really looks cream but in fact if you have seen it it really is a very subtle shade of pink as the name suggests and I stamped out the little sentiment also from the lotus Frames clear stamps set but I used it without any of the little frame shapes as I wanted it to look like it was almost running of the bottom of the page. I then matted that onto gold card, on the right of the picture you will see part of a piece of left over paper scrap from the Rose garden pad and i liked it but it looked wrong lined up as it was on the top of the sentiment piece so I cut the bottom very roughly around the leaves which can be as fiddly or not as you want but it is more about getting that flower garland away from the pink paper so we can have it almost hanging (as a garland would be). Once I had the size I wanted I cut it shorter and added it to the card with some Cosmic shimmer glue, I also went around the bottom in white pen it sort of lifts the image from the backing slightly. I also added some little white dots around the top of the pattern which you can see better below.

 This shot is a little blurry so I apologise for that but you can see the white under the leaves pulls it up from the page and the white dots just add a little something, something lol to the pattern I don't know in may all be in Kim's inky mind but to me it makes it look prettier than plain, then I added a few white faux stitches too to this section and one of the other mats on the card too.

I tied a little bow to match in the same seam binding and spritzed it with a little water and scrunched it up just a little, then thought I would like a little tag so I stamped out one of the little lotus' that I had used faintly in the backing but this time I added some colour with distress Markers and a little sparkle, of course. Trimming it into a tag shape then placing it under the bow. I also used a wooden natural button and tied a little hessian twine through the stitching holes and added a few little strands under it too.
Finishing touches then consisted of some smaller wooden buttons and pearl half pieces to the centre of some of them and just plainly on some of the corners. I also found a button in my collection that looked like a clock so I added a pearl in the centre and popped that on too.

So that completed today's card, I hope you liked it and that you can let me know if you did today haha

Here is the full Image again


I hope you like it, it is a little different but still has my style , without too much inkiness i think.

Have a wonderful Thursday my lovlies and I will see you very soon .

Lots of love 

Kim 
XXXX


Wednesday 22 April 2015

Visible Image Wednesday

Hi Folks

I hope you are all enjoying your week and that you are getting some nice sunshine , it has been so very nice to get out of work at night and still see the sun streaming through the trees.
After last weeks quite complicated tutorial I thought this week I would do something a little simpler for folks in the clean and simple vane.
I used three stamps from Our Visible Image Friends and they will of course be listed below or if you have any similar or you would like to substitute one of your favourite quotes or sentiments it is just another way of doing a very quick but smart card to give to someone special.  It is funny isn't it , when we make cards/ gifts we all seem to put our heart and soul and a bit of ourselves into the design and the way we compose it for that person , I feel like I am making it for all of you when I do them as I share the details so much with you all.

Here is today's card and I hope you like it.


 I used two distress inks on this one in Vintage photo and Seedless Preserves. I used off white and black cardstock. Lots of matting and layering with foam in between too.


 Firstly,  I took some off white card and my Grunge polka dots background stamp with Vintage Photo DI and stamped a few dots on opposite corners and then took a piece of cut and dry and a little ink with a light hand and added to all the edges and corners of this piece


 I then took my Ink Splat stamps and used a few different ones with the purple Seedless preserves DI
and stamped that randomly , I did keep in mind the sentiment would be around the centre and it would be good to still see some of the inking once attacked to the card etc. I then matted this onto another piece of off white and another larger mat again in off white and then a black layer.

 Here you can see the above mat and layers and how it is starting to sit together already.


I took a left over piece of the off white card and stamped my Just making memories sentiment which I adore in Versafine black ink and added one of the purple large splats to it, I used some of the Vintage Photo to edge this piece as before and then mounted it onto black card.

 Here are two more photos of the card up til now just as I am choosing which way I will go for this one with embellishments. Sometimes I love to match lots of accessories to the card and other times I just want to leave it clean and speak straight to the point and I believe this is in the later category this time.


 I added a couple of small sparkly stones to the corners and a twine in matching purple bow with a sparkly and pearl stone to cover the knot and another of the same sparkle with pearl in the centre to the large splat on the sentiment.
I also decided on one more layer of the off white and black layers to finish off and give the card some real height and dimension after all clean and simple doesn't mean boring and bendy does it folks hehehe.

Ok so the stamps I used from my good friends at Visible Image are listed here.


                                                                    Grunge Polka dots.

                                                                 Just making memories.

So you can see how simple it all came together once it is broken down can't you? Perhaps you can tell me whether you like the mix of tutorials I do each week or if there is a particular type you like best, maybe paper pads or inky ones , maybe the embossing techniques or paints and colour etc, let me know in the comments if you would like too.

Here again is the finished Image 

I wish the camera picked up the vibrancy of the cards made but it really does not pick up how fresh and bright  a card is or the sparkle we like to add  sometimes it just does not matter how many pictures you take it just does not translate so well to the computer.

However I hope you enjoyed this tutorial, thank you for stopping by and looking through, don't forget to subscribe If you haven't already and I will see you tomorrow with some more fun with art and craft work.

Love and hugs to all the lovely folks.

Kim 
XXXX