Showing posts with label lace. Show all posts

Thursday, 19 November 2015

Creative Expressions Thursday

Hi folks

Thanks to all who have left me messages on Tuesday's post.

Today I have something completely different for you all we have another of the Flower bouquet stamps from The fab Stamps to die for range which I have water coloured and teamed again with that lovely paper pack I am so addicted to and of course a little crochet lace ribbon can never go wrong hey...


So here is the very easy to follow tutorial for today's card.


 So for the card base I have a double layer of Latte card stock with a 5mm foam in between so quite a white gap.
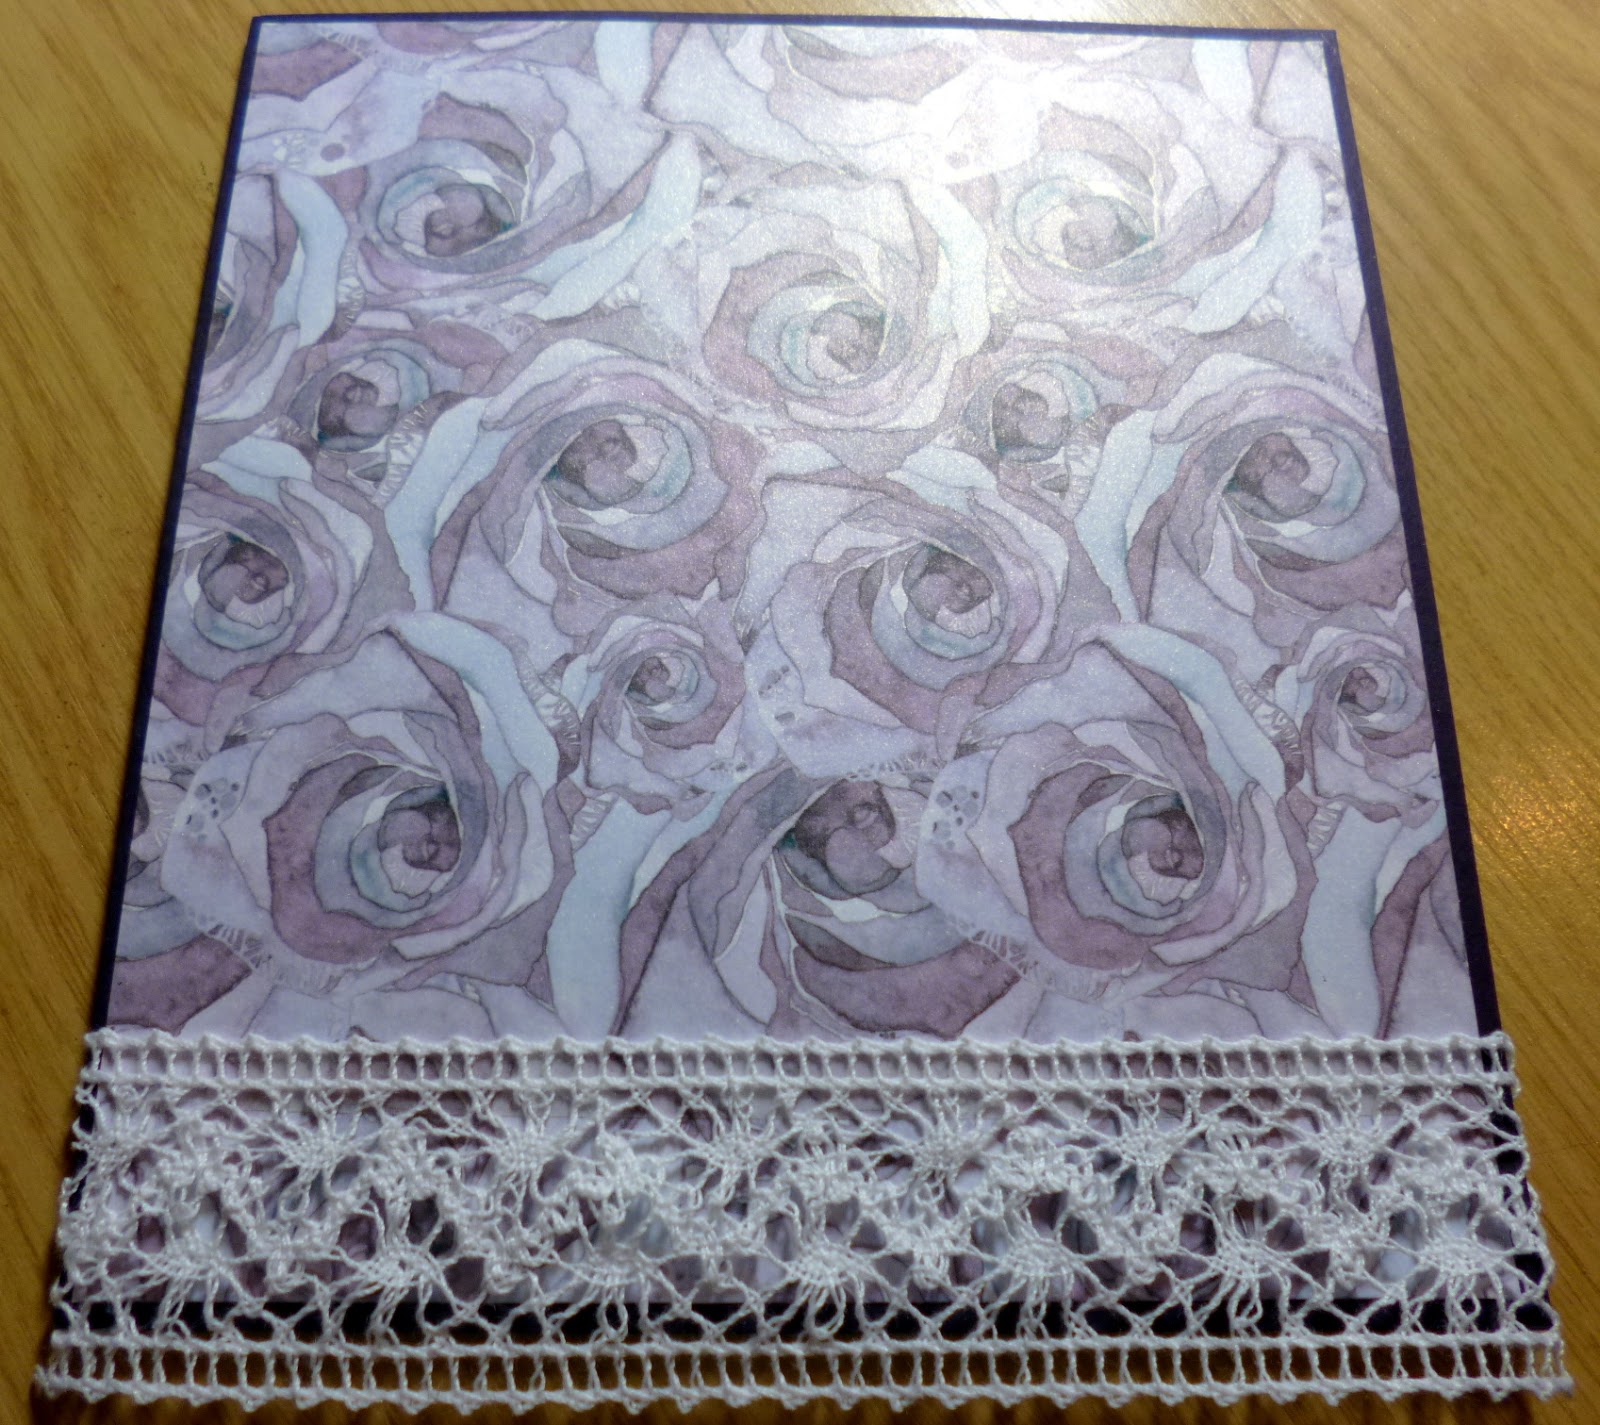
Next I took a piece of the purple very shiny rose card from the Bloom Beautiful pad I have been using lots
And mounted it onto plum card I then wrapped a piece of crochet lace along the bottom over hanging slightly so the pattern would show off the edge.


Here is the pad I used so that it is easily identified.
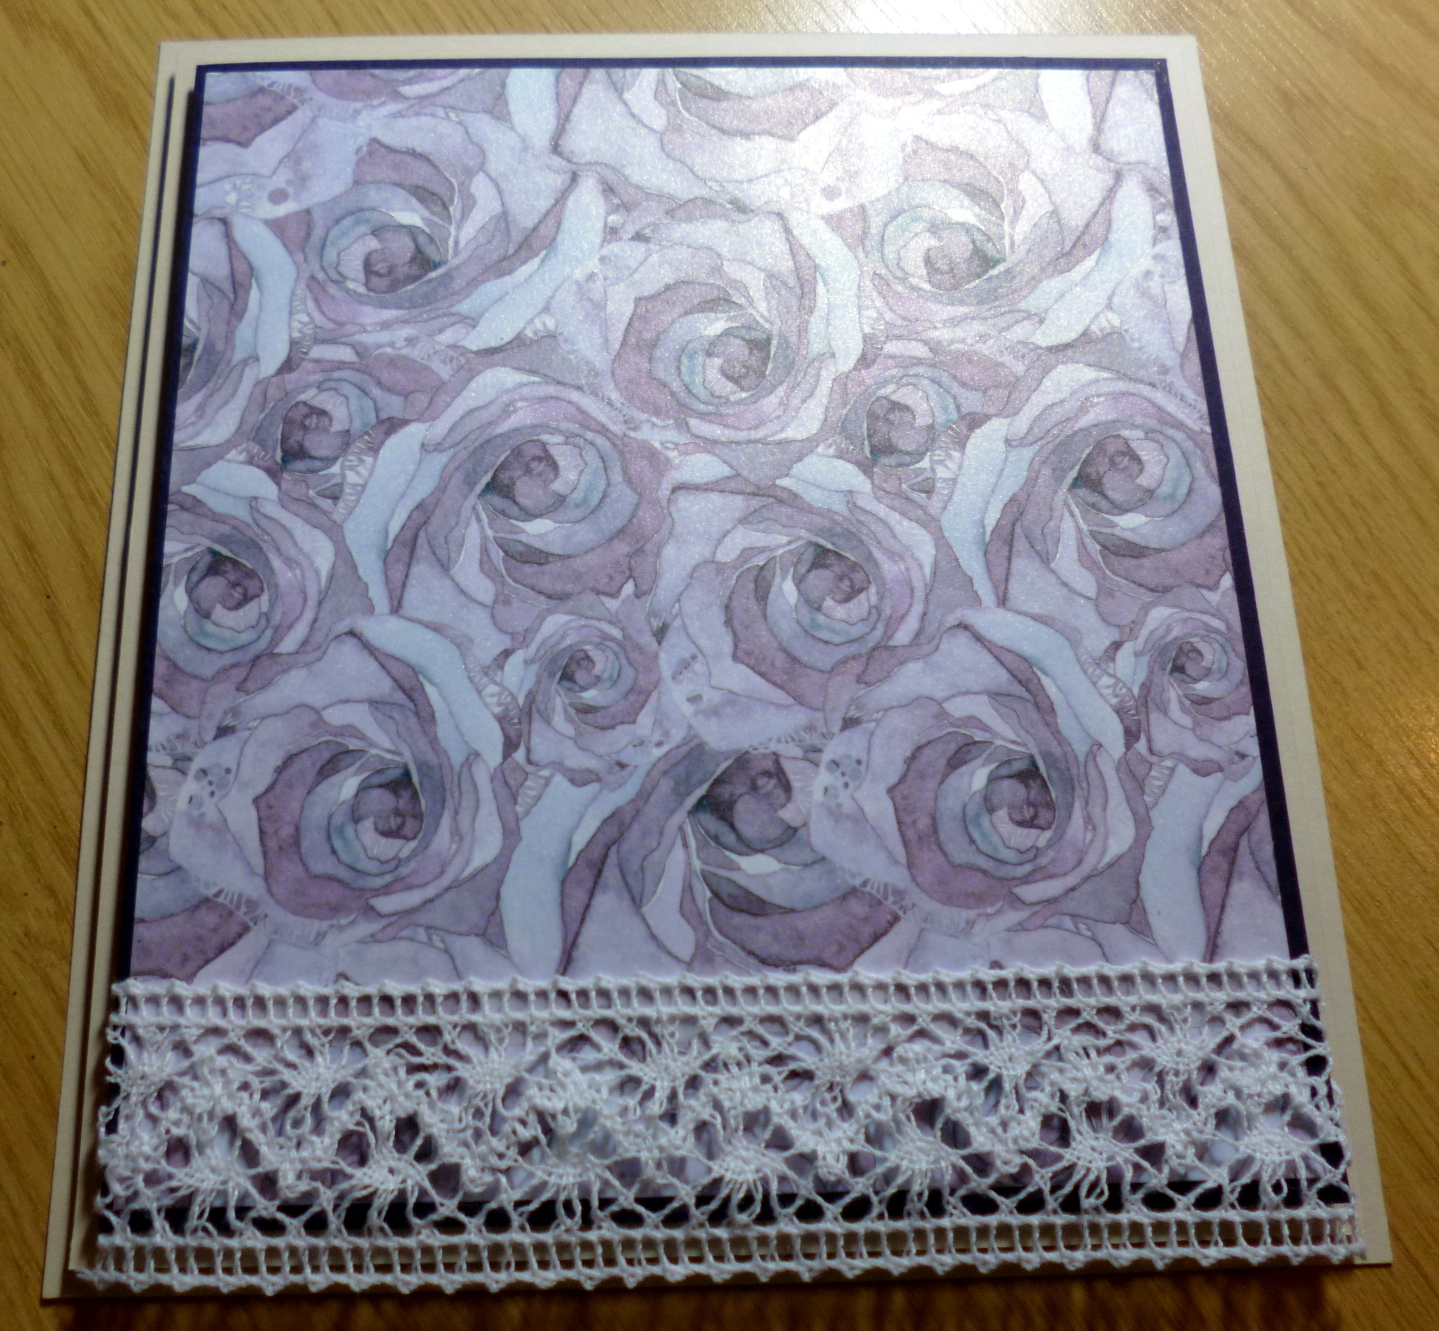

 I added those two pieces together with again the wider foam tape.


So this time I took a smaller piece of the paper and using one of the new Christmas dies that I will use on my next project for Creative Expressions I cut out a rectangle from the paper and mounted that piece onto plum card then added that to the main body we already created again with foam.


So here you can see I stamped out the tulip bouquet However I did colour them a little rose bud like hehe.
I stamped it with currant adirondack ink which is water soluble so I used a water brush to pull in colour from the lines to soften the edge of the flowers and filed in with extra colour and added some green adirondack ink and mixed the colours for the leaves and stalks etc.


 I used a stardust glitter pen to add a tiny shimmer to the flowers again water brushing them out to give a nice sparkle. I also used a white gel en to add some highlights and shine to the petals and leaves.


 I cut out the bouquet fussy cutting and mounted it onto plum card and fussy cut again before adding it to the from of the card on an angle, I also too the piece of paper I cut out earlier from the other piece and added that to plum card ad raised up on foam for the from of the card, I also punched a hole in the top. I stamped the sentiment from the sunflower Bouquet and cut it out with a tag punch which I used some May arts jute string to attach after inking the edge with a little currant adirondack to match in with the flower colour.

Lastly I tied a Small jute string bow and added that to the tag attachment and some 8mm pearls to the corners and to cover the bow knot.
So a card that could be made fairly simply with lots of pretty layers and some gorgeous water colouring which I love for depth and dimension.
I have always loved water colouring and the way water disperses on a page and how we can turn it into art.
So I really enjoyed colouring these flowers in, I hope you will too.
Have a wonderful day folks and I look forward to catching up with you all very soon.

Much love 
With kind regards

Kim
XXXX

Tuesday, 17 November 2015

Visible Image Tuesday

Hi Everyone

Nice to be with you for this weeks little offering. This week it is a about small but perfectly formed haha
I made a 4x4 chunky canvas blank into a special little wall hanging using the one of the very special sentiment stamps as my focal point. It ended up looking a little vintage but I enjoyed the technique I used which was using a heavy bodied carvable paste coloured with ink and mica sprays to give it its rich tones, black lace and feathers always adds to the drama too.
So here is this weeks little offering for the fabby Visible Image.

This is the canvas laying down but I held it against the wall and took a snap to so the feathers sat in a more natural position. (excuse the grubby hand in the piccy).

For those of you who would like a how to make this just keep on reading.


 I added a good amount to the front of this chunky canvas and simply using a palatte knife carved into it before drying with a heat gun, you can leave it over night if you refer and then you can sand the texture paste etc too if you would like a different effect. I wanted it to dry almost fabric looking so a little softer for this piece though.


This is the paste I used for reference.


 So after drying you can see it has puffed a little and is now matt.


I used three different sprays two ink ones with no mica in a reddy tone and a chestnut brown and then a gold mica over spray gives it its shine. I dried each colour separately so the colours didn't look muddy.


 I had some thin  black lace in my stash so I added it in two layers facing each other on the sides. I used hot glue to attach it but you could easily use a fast drying wet glue also however tapes wont stand up to the heat gun too much and I reheated the top with sprays several times.


 Next I used this gorgeous sentiment that I loved immediately entitled If you have hope.

 I added my sentiment using Pinflair glue so it would self level on the to and sit how I wanted to contrast with the backing.
I also added a little angle resin piece I had and added some classic treasure gold to the corners and the resin angel to pick out the features.


Here it is diagonally so you can see the light from a different angle.

I added some black marabou feathers and some little black bead stamens poking out of the feather too and some little pearls in the corners with a few tiny roses in a matching tone to the bottom right of the sentiment for balance.
So that's it folks it turned out really well and I enjoyed putting this one together.

I hope you like it, Let me know if you enjoy mixed media items and what you would like to make or decorate like this canvas or a box to cover etc

So have a wonderful Tuesday and thank you for stopping by

Love always

Kim 
xxxx


Thursday, 16 April 2015

Creative Expressions Thursday

Hi Folks

Happy Thursday,

Today I have been using one of my favourite colour combinations in card stock, Yes you all know it cream and plum. It doesn't seem to matter how many pieces of Card stock I use to make these cards I always still love the Plum and Coconut white or milk foundations card together the most.

So today's DT card for Creative Expressions is using the Elements Lotus flower stamps by John Lockwood. It also is using the new coloured Cosmic shimmer glitter glue and embossing powder Lustre in Decadent Grape as part of the Phil Martin Line of colours. I have also thrown in some gorgeous Guipure lace and some white Satin ribbon in two thicknesses as you can buy these days which makes this card a feminine one for today.


So for this little number, well mine are rarely little to be honest, this is about 8X7inches haha....


 So I cut a piece of plum card and wiped over with my anti static pad first, I then used one of the tony stamps in the set to stamp a pattern around the edge of the page and used the Decadent Grape embossing Lustre powder and heat set it.


 Here is how it ended up it is a shame I didn't have a mirror image swirl so I could have used it for more of a flow but once the rest of the card is together you will not notice it,  I chose the Grape Lustre embossing Powder to use on plum card because although it doesn't show up the same as say using it on a light card tone on tone is really pretty especially in the Lustre colours , when you turn it in the light and you catch the colours shining through it is so pretty.


This image below shows the sparkle a little from the light taps of glitter glue I added to the petals after I coloured them.                                                                                                                                


Next I took a small piece of Milk card and stamped one of the lotus images and again heat set in the same Lustre EP which shows up a lovely pale shade on Milk card and I used my black archival ink to stamp one of the sentiments from the same Lotus elements set.
To colour the image I took 2 green and three purple shades of Distress water colour markers and blended the colours into each other on the petals. I blasted with the heat gun to set it all and then went in with the coloured Cosmic shimmer glitter glue in the same Decadent Grape colour chosen by Mr Martin. I trimmed the card to size and used cut and dry foam and some Dusty Concorde Distress ink to colour the edges with a fairly light hand.


I matted a larger piece of Milk card on Plum and then down both sides added some Guipure lace in an Ivory/cream colour and used a fairly thick , about 18mm I think of Ivory white Satin ribbon to run down the sides too. I added thick foam to the back and layered that onto a double mat of the same milk card with foam in between to create the piece below, ready for our front section to be added to it with the trimmings which make a cart pretty and complete.


 I always love how elegant this looks as a card backing at this stage it could easily be the start of a wedding card or engagement even, the plm card could be switched to red and it could then be a ruby anniversary, well as you all know the list is actually endless in how a card could go from here.


But this is the way I chose to go, I added my middle section that we stamped and embossed earlier onto the base we just created. I also then added the Main image piece that was left at this stage for this very simple card was to tie a triple bow in matching thin coloured


I zoomed in a little so You can see how the mid section looks once in its permanent home as it were haha.


 Here is the Triple bow with very thin maybe 6mm matching Satin ribbon and the last steps were a large 8mm pearl in each corner on the satin ribbon, I used the normal cosmic shimmer glue to hold the pearls to the ribbon which it did with no effort at all.


This angle shows the mat and layering perfectly for this one and how feminine the lace makes it feel.


Here again is the last view  for this one in all its glory, I went back and using tiny tapping motions and barely squeezing the glitter glue bottle I added some tiny dots on the plum card around the swirls we stamped to give a nice sparkle.

I hope you liked today's card , it was a much simpler card then yesterday's technique card but that is how I love to blog so that you can see a total variety of styles and tutorials so you can recreate it however you choose and at any level you are there will be something for you.

*    *    *    *    *    *    *    *    *    *    *

In my town centre the last two days they have been filming a zombie film with some of the Game of Thrones actors the last couple of days and coming out of work has definitely been interesting and good fun, this is the second film they have used our town centre for, The first one was with Simon peg and Nick Frost a couple of years back called , The World's End. I am unsure what this new film is called but I look forward to catching it when it is released and seeing images that I recognise.

Have a wonderful Thursday lovely friends and I will see you all very soon.

Love as always to all.

Kim
XXXX

P.S   Thank you as always for my lovely comments  I really do appreciate every word you take time to write me. Your a wonderful bunch of ladies and couple of gents I think haha  xxxx

Thursday, 6 March 2014

Creative Expression's Thursday.

Hello Ladies

Hope your all having a good week so far , can you believe that it is Thursday already, this week has flown by.
I want to thank you all again for coming back each day and leaving your comments all you regular posters and just reiterate how much I appreciate all the effort you put in with coming back day after day. I feel very blessed to have got to know several of you and feel like we are all one big family so what a wonderful feeling that is.
So we have gone into a new month so I have lots of lovely stamps to show you all and Today I used just two of them to create this.

Isn't this  a little bit different.

 I used the Wild Holly embossing folder (which looks nothing like Holly if you ask me haha).You can also see the lovely hessian ribbon I used down the side with some crochet vintage ribbon.

 I used pre bought flowers on this one with the lovely Creative Expressions Metal leafs.


 This stamp image is delightful and it stamped beautifully with Archival and I used distress and Adirondack inks to colour in the image. I also aged the appearance of the card with Antique Linen Distress which I really love.


 The stamping in the background is done using the new scented border stamps from Creative Expressions in the singles range.

I ran some flat back pearls along the fringe of the hessian and adhered them of course using cosmic shimmer glue.
 These are the inks I chose for the main image and the mustard went into the centre of the flowers

 I used the scented border to create the backing panel and used the Antique Linen to make it look a little older.

I also used Periwinkle, Milk and Dark navy Foundations card in this one.
The wax above I used to pick out the Embossing on the first layers and this is your focal stamp from Sue Wilson's new collections.
I enjoyed this one, something a little different and I love the rustic feel to the hessian  yet just two stamps and 1 embossing folder was used here.


I hope you enjoy this one too and I will see you soon with lots more artwork.

 I hope that you can see the images as yet again I had problems with blogger and I can't actually see any of the pictures just now.

Love

Kim 
xxxx

Sunday, 30 September 2012

LACE..


Evening bloggers... How was your Saturday? Mine started off blaaa with work first thing in the cold after being in a lovely warm cosy bed but it was only three hours so shouldn't complain, the hospital I work in is closing too so we're not sure how long we will even be there so... Anyway enough of that! I made a card I really like today, I'm absolutely loving this Craftwork cards collection, it's the Bohemian and the pad is soooo glitzy and the papers with no glitter are sooo perfect for making it a bit grunge but pretty so here is my stepper card made as tribute to Bohemia with added lace.

  • I started with cutting the pad down a bit because I wanted one of the papers with just the chandelier showing. 
  • I then got the matching stamp also from the same collection and over stamped in black, I inked all the edges with my trusty Distress, Then thought this looks a little flat so i went back over with an embossing pen picking out the chandelier and poured on clear enamel and heat set, all this was then matted onto black card for drama.
  • That was much better, I cut out an extra section from the top of the pad and trimmed along the lace design, Matting it on to black. While I was doing that I cut the top of some lace and added that to the small piece of card as I was matting it.
  • That was it, all the Lace ideas started jumping in my head then, so i cut out the pieces for the back sections, inked and matted them to match adding the lace as I went.
  • I had the stamps for the lettering so I stamped LACE and added clear embossing in 2 layers then swiped over with mica for little shine and heat again. I made lots of flowers in the corresponding colour from the pad and attached them with little pieces of lace and then went over with some bling for the chandelier and some lace Craftwork Candi, my little sentiment was last and tucked in their nicely with another inside the card matted on paper from the pad we were done.
I really really love this font and also the craftwork letters that you get in some of their kits too. And I like to matt them onto card and add them at differing heights like on the cards I used for the Stamp addicts samples.

Here's the closer picture of the flowers that are really pretty I think.
Have a great Sunday and will add more tomorrow. Sleep well everyone!
Kim xxx
                                                                                     

Sunday, 9 September 2012

Especially for you

Hello Crafters
First of all Happy Sunday, Hope your all having a great weekend out there in blog land, I've been tucked up in bed most of it with a rotten cold so no new posts last couple of days. Today I got up and decided I must get some new cards to photo and share with you all.

I found this lovely little topper of the Hedgehog in the pinny watering her Daisies in the garden and wondered what I could do to bring it to life. 
  • Firstly, I added some glossy accents to the middles of the Daisies Which looked pretty I added some also into the water can but somehow it wasn't enough to look like water so then I added some micro beads (these things are actually smaller than a pinhead.) the effect was lovely although you can't really see by the photo but it looks like water spilling over.
  • Next I matted it onto a toning piece of card stock.
  • I took an 8x8 base card (which I use a lot as I like the amount of room this square shape gives you to create.) And found a lovely green backing paper I inked it slightly to give it a bit more tone and found it looked a bit flat so added some lace embellishments in the form of rub ons to the bottom of the card and also to the top left and bottom right for balance to the topper to be placed.
  • I wrapped a thin ribbon around the green backing paper and made a messy bow ready to add at the end to match.
  • So I stuck down the and added the topper onto the lace rub on added earlier. I took a sentiment and distressed it a little and used a little white pen to go over the 'Especially for you ' text as it looked a little too perfect. 
  • I attached my Bow and then found some lovely natural flowers in my crafty stash so added a few top right and bottom left again with the balance in mind. and my last addition was to added a small flourish which I cut down from a larger one in my kit. to beside the sentiment.
  • Of course I added an insert as I feel no card is complete without something to finish the inside whether it's a matted and layered sentiment or a personalised text or even a pretty paper with a sentiment but never a blank card. 
So that's today's card, hope you liked it and that you pop by an see the extra items to be added this week.
Kim x