
Thanks so much for stopping by and checking in on our little blog.
Well April showers hit us at the beginning of May that's for sure but I am hoping they don't stay for long so we can get back to our spring weather we had just started to enjoy.
How are all my lovelies , I think of you all often and wonder what you are up to and if you managed to get any crafting done that day. What was the last thing you made?
Today I have lots of pictures and quite a busy card with lots of stages so definitely not a beginner card, it does however utilise that technique I showed you all a couple of weeks back where we melt the UTEE and stamp into it rather than set up and use the melt pot for one stamp impression.
Here is today's card for the fabby Visible Image I hope you all like it and would give it a go, or if it is too busy feel free to simplify it and give it a go with what you have or prefer to use.

So to start.

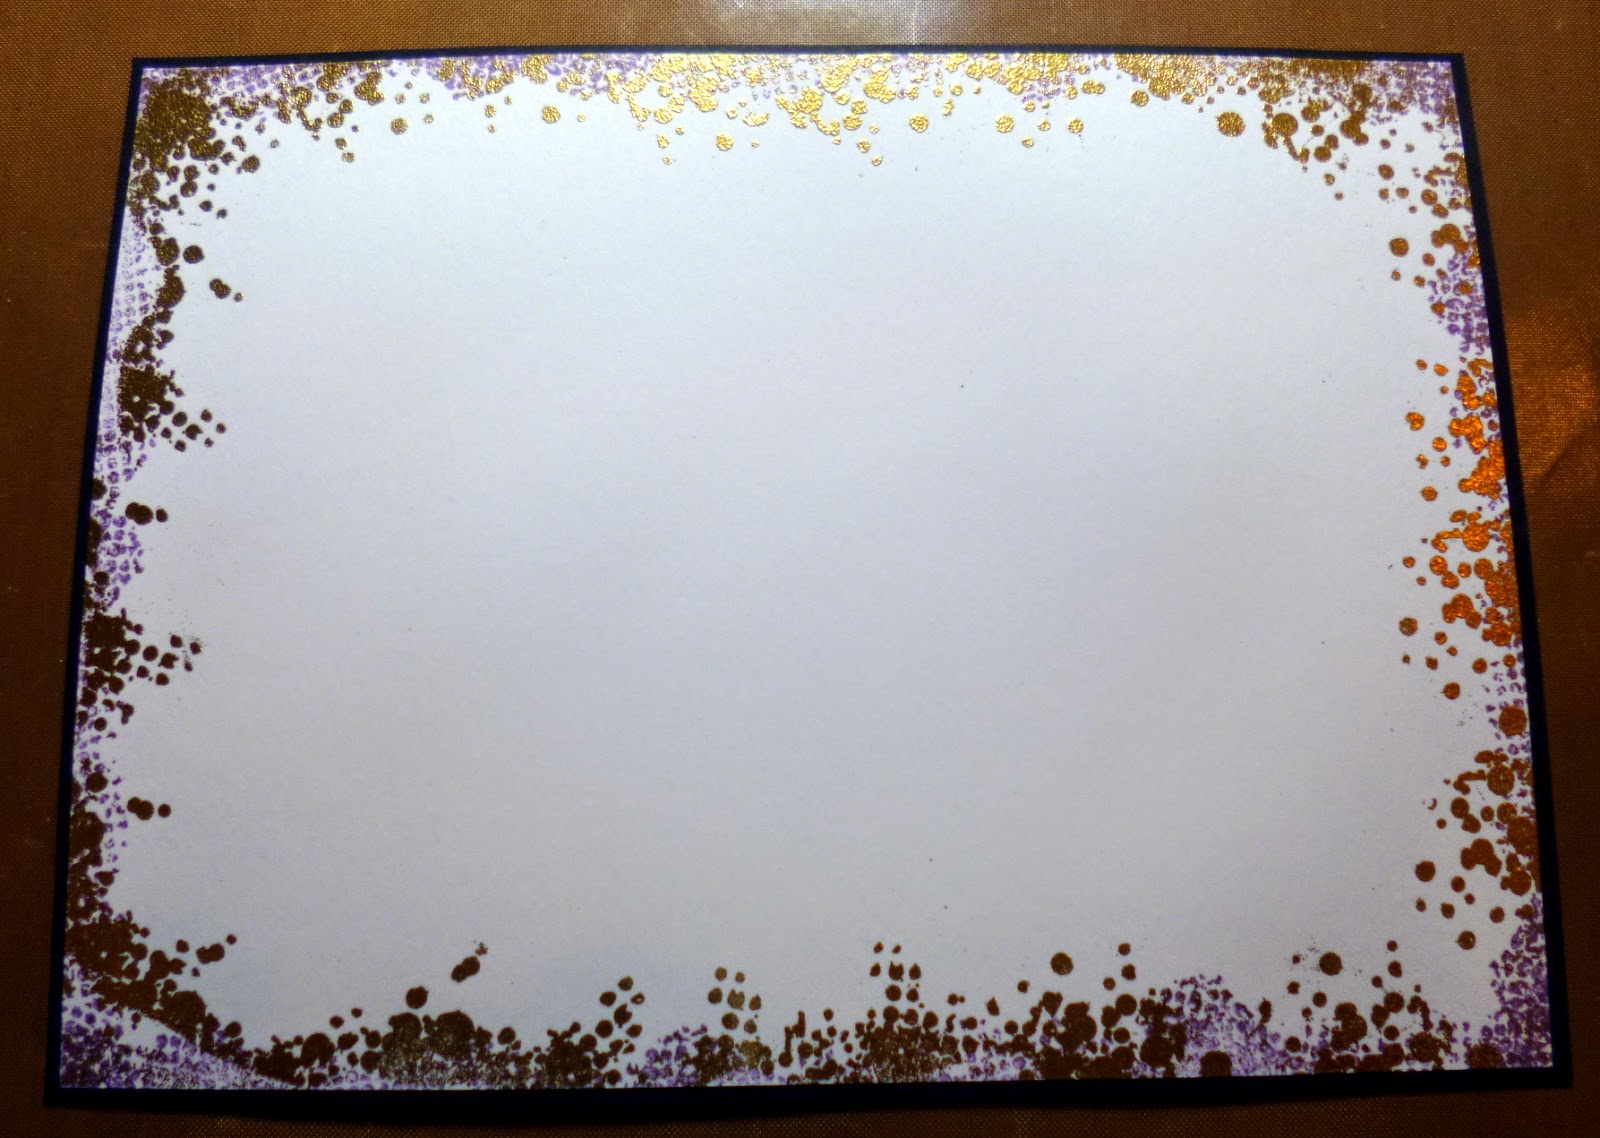
I took the Crackled background stamp with some Pebble ink from Ranger and stamped randomly with the stamp in my hand and not on a block so I could add bits exactly where I wanted them I left the centre more clear than the two opposite corners.

Next I took The Bronte script stamp and added some again random areas of stamping which you can just see on the top left of this image above, I embossed this stamping in clear embossing powder to allow the white of the card to show through whatever we did on the card.


These are the predominant inks on this card.


I matted this piece onto a piece of white card and set aside for now.


So next to recap on what we learnt a couple of posts back , I rubbed some versamark ink on a piece of card and tipped on some Ultra think embossing powder , I heat set from underneath, not only does this create a much smoother surface to stamp into but it also means the utee granules stay put as they are inclined to fly all over the place if you try to heat from above on the first couple of layers are the slippiest I'd say. You can do as many layers as you want but I find 2-3 is ample as it will snap when cold unless you melt some flex in with the utee.


, and colouring then with alcohol markers so this tip of the wing will not show so is fine for this imprint,


I also coloured the edges of the ripped card and added some beadazzled bead and sparkles into glue in varying sizes and I also added some tiny sparkly stones.
I set this aside to dry for a while while we finish prepping the base.


I also decided at this stage to add some tiny little sparkly stones to the body of the dragonfly, this really does stand out extremely sparkly in person but again as we have mentioned before the camera just never does the images justice with glitter.To finish all I did was go around wit my glue and teeny weeny sparkly stones and add them anywhere that I felt would benefit. I also added some of the super sparkly beadazzle bead and sparkle pots , I wish you could see this in person (arrrrr)
So the stamps I used on this one were.


I hope you liked this card it certainly is a little more complicated with lots of steps but hopefully you will all be able to see what I did from the pictures.
Please feel free to come on over to the Visible Image blog today and check out my post there if you would like to leave me some love on the main site , that's always nice too but I am so appreciative of you all being here with me. The other gals do some awesome work too and we are having a few new teamies soon so it be great if you would like to pop along and meet them once all have been chosen in a while too.
Have a wonderful Wednesday my lovelies
Love as always to all
Kim
XXXX
Morning Kim, Love it !! love it !! love it !! I love every single layer of this 'masterpiece', the colours are divine and the fabulous UTEE and acetate and the sparkly bits, absolutely stunning !!
ReplyDeleteWe have got a very windy and rainy day here, yucky.
Lots of love from Patricia xx
I love it too kim it's truly beautiful hope you and yours are well love always nanna June xxxxxxxxxx
ReplyDeleteMorning Kim
ReplyDeleteLove it !! absolutely stunning, and thank you again for your tuition - fist class.
Hugs
Carol x
Absolutely stunning!!! Wonderful effect from the UTEE, all the sparkle and detail are just wonderful!
ReplyDeleteLove it Kim, really appreciate all your hard work to produce this wonderful work of art. I must dig out my utee and have a play now that you've inspired me again! Lots of love Sarah
ReplyDeleteFabulous card. Thanks for the detailed step by step.
ReplyDeleteLove the colour and textured effects you have created on these backgrounds Kim.
ReplyDeleteWow this is gorgeous Kim and love the gold embossing in the background which goes beautifully with the gold UTEE dragonfly, and love the added acetate wings too. There is so much lovely texture in this. x
ReplyDeleteVery effective
ReplyDelete