
Just in from work and as promised I have the usual tutorial on how to make this mornings card so I hope you have a go at some ink layering and enjoy creating some backgrounds for your gorgeous sentiment stamps too.
So here is today's card in case you didn't see it this a.m...

I took a piece of white card and used the fingerprint stamp from the drag and drip set of Visible Image stamps and randomly added a few stamps in the clear perfect medium over the card front at different angles and even off the page then I added clear embossing powder to it and heat set. Once it was dry it allowed me to have a play with my distress inks including the new Mermaid lagoon blue colour I coloured the page in the normal 2 blobs one side one the other.
I also used once this was done I spritzed some water all over and dabbed it with kitchen paper to remove the inky/ watery slats leaving little white dots.


I took my inks and started to build up the colours here is just mermaid lagoon and wild honey and the parts where they over lap slightly they give that green hue.

I then used the same finger print stamp and used the same inks to add some random tone on tone stamping to the card too, drying in between each layer then add the water droplets and dabbin the card to remove the ink in those places.

Once that layer dried I added some more ink to the edges to slightly darken , then took the distress marker spritzer tool and sprayed some coral ink in random areas over the card too.

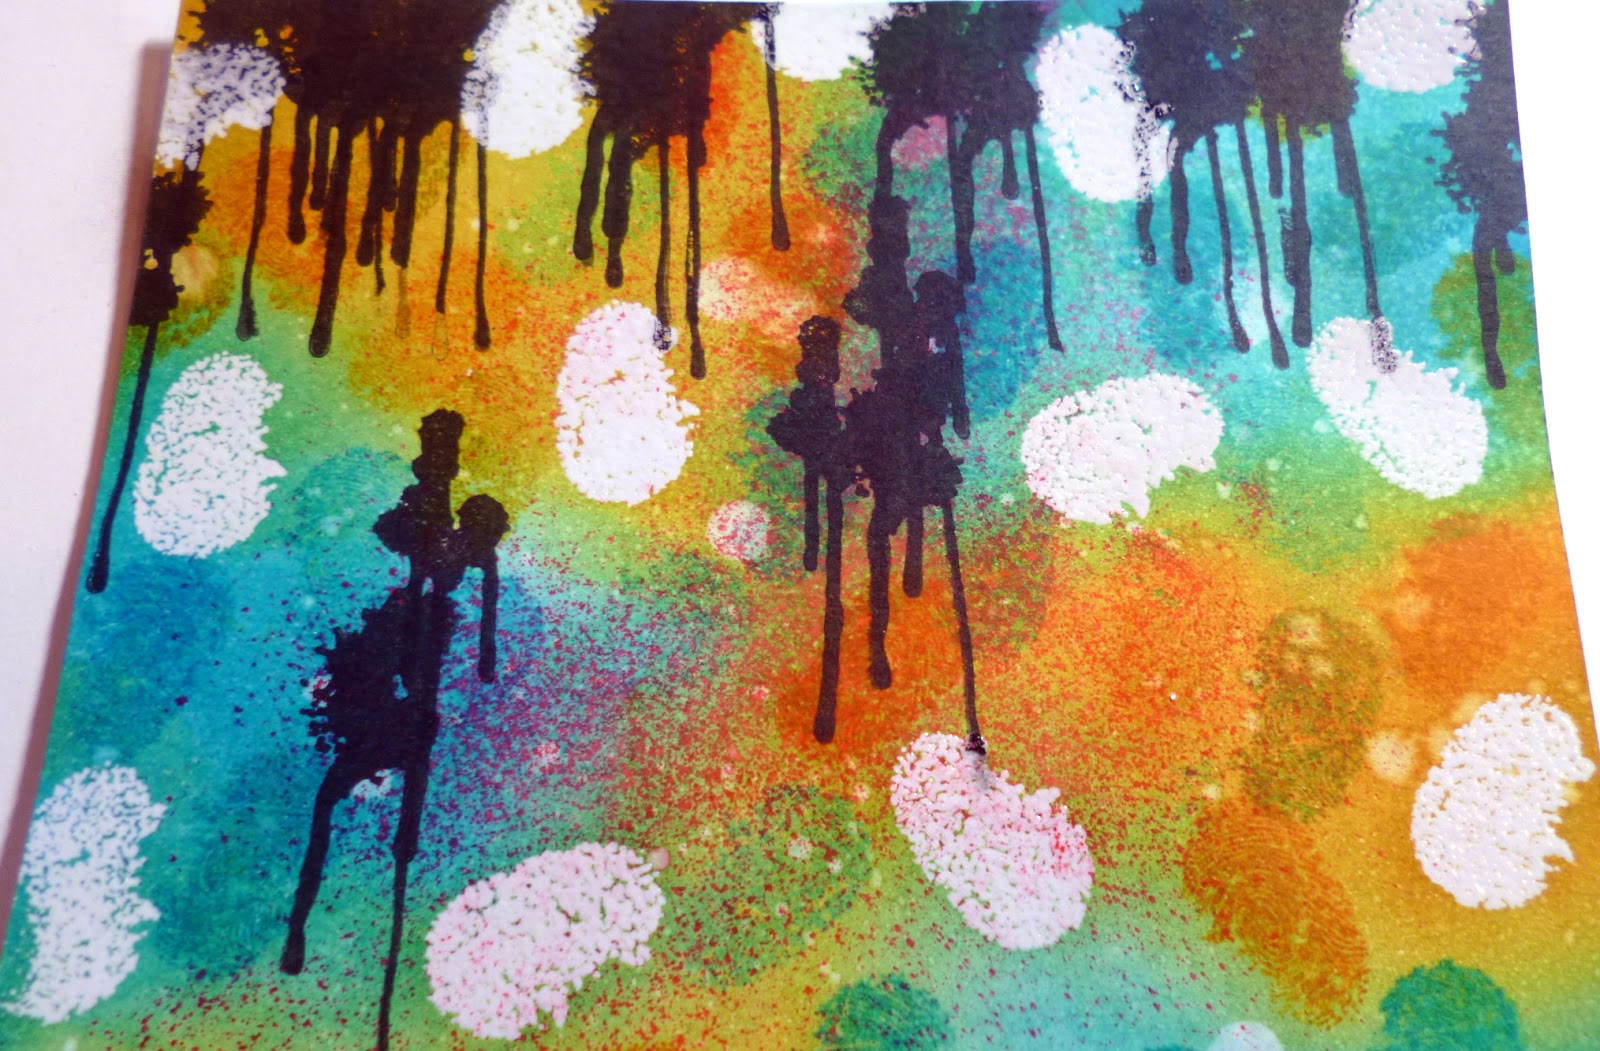
Here is a close up of the backing and the layers of colour starting to appear here too.

Next I took rusty hinge distress and the galaxy swirly stamp and randomly stamped in the orangey colour dots in swirl patterns.


Here is a close up of a section of all I have described so far.


at this stage all I did was mount it onto black card and add foam to the back to raise it up on the backing card.


The finished card , It is so bright and colourful and really is like you can see into the card with all the layering of inks. I love how it turned out.
So the stamps I used were....


There we are folks I hope you like this one and think about your favourite colours and what stamps you have to create layered inky back grounds too.
I hope you managed to come visit and have a look at today's card and I look forward to seeing you tomorrow for some thing a bit different too...
Hugs and lots of love to all.
Kim
XXXXX

Great tutorial on building up an inky stamped background Kim! Love the colours too :) Helen xxx
ReplyDeletegreat background. thanks for sharing how, hugs xx
ReplyDeleteThank you Kim this background is beautiful and I'm sorry I called your fingerprints splots. I adore the mix of colours and the way you have layered all the different stamps to build up the design. x
ReplyDeleteHi Kim, Thank you for the tutorial, a great colourway on this card.
ReplyDeleteLots of love from Patricia xx
Thank you kim colours are beautiful xxxxxxlove always nanna xxxc
ReplyDelete