Showing posts with label Its still you. Show all posts

Wednesday, 3 June 2015

Visible Image Wednesday Part 2.

Hello folks

Just in from work and as promised I have the usual tutorial on how to make this mornings card so I hope you have a go at some ink layering and enjoy creating some backgrounds for your gorgeous sentiment stamps too.

So here is today's card in case you didn't see it this a.m...


I took a piece of white card and used the fingerprint stamp from the drag and drip set of Visible Image stamps and randomly added a few stamps in the clear perfect medium over the card front at different angles and even off the page then I added clear embossing powder to it and heat set. Once it was dry it allowed me to have a play with my distress inks including the new Mermaid lagoon blue colour I coloured the page in the normal 2 blobs one side one the other.
I also used once this was done I spritzed some water all over and dabbed it with kitchen paper to remove the inky/ watery slats leaving little white dots.

 Here you can see the white card and you can just see the patches of embossing powdered finger prints.

 I took my inks and started to build up the colours here is just mermaid lagoon and wild honey and the parts where they over lap slightly they give that green hue.


I then used the same finger print stamp and used the same inks to add some random tone on tone stamping to the card too, drying in between each layer then add the water droplets and dabbin the card to remove the ink in those places.


 Once that layer dried I added some more ink to the edges to slightly darken , then took the distress marker spritzer tool and sprayed some coral ink in random areas over the card too.

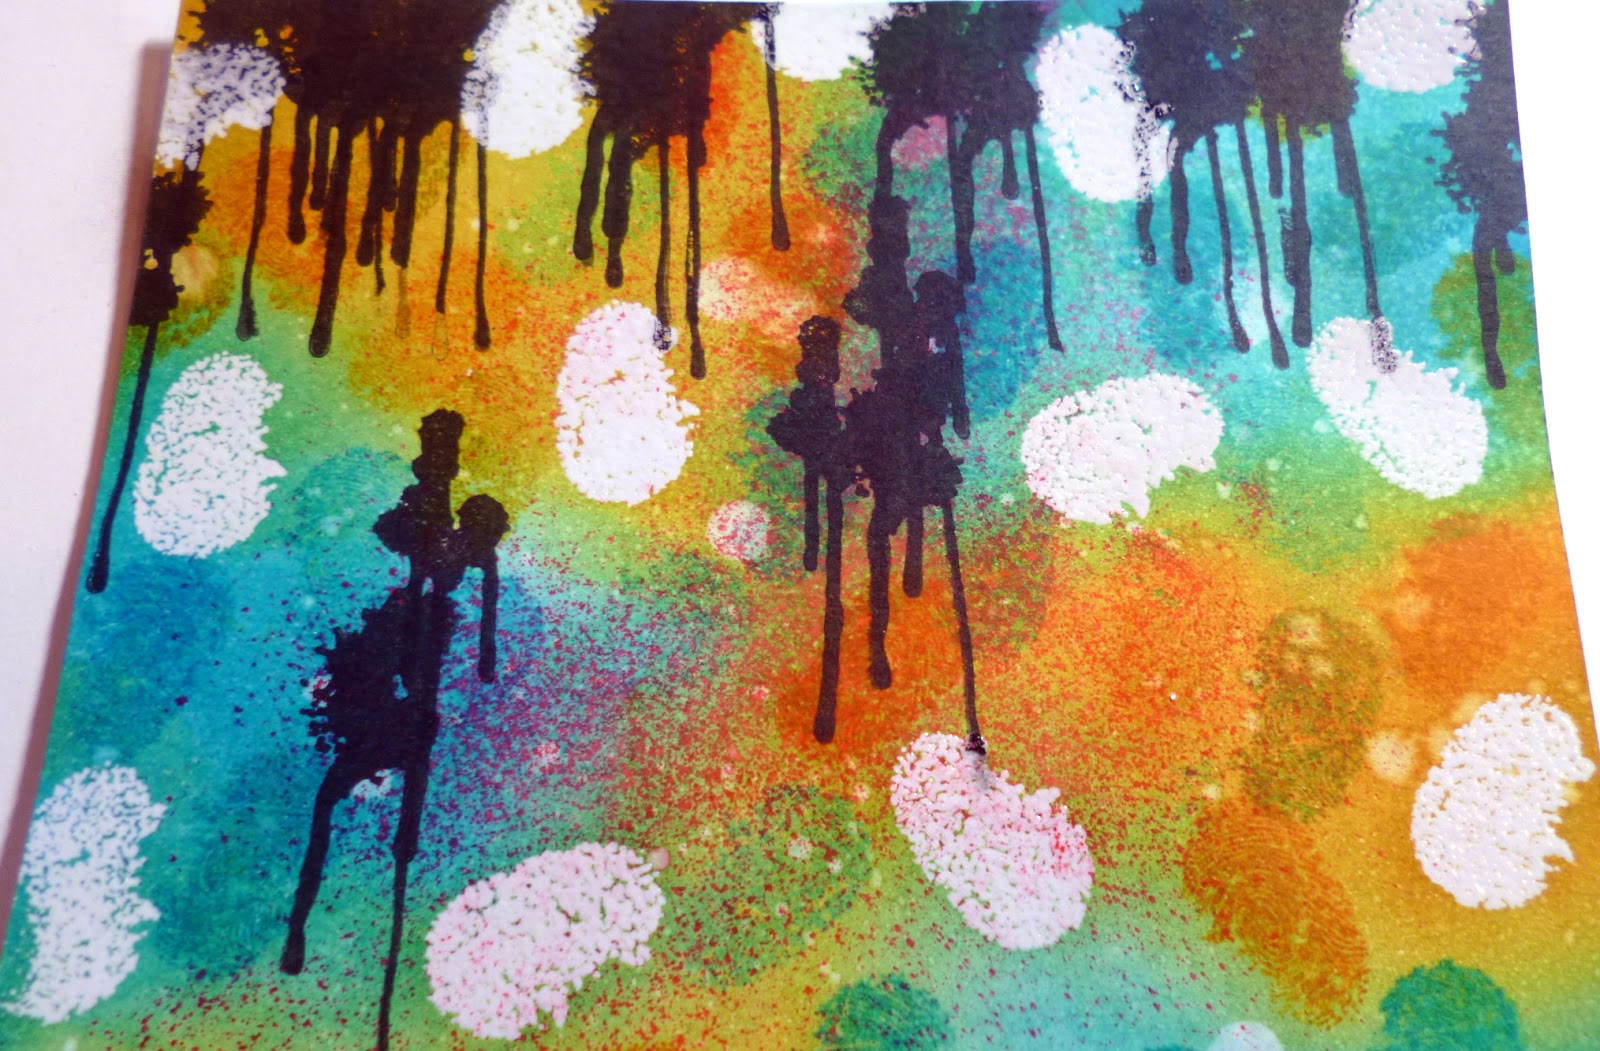
 Using both the drips from the drag and drip set I stamped using black archival versafine ink in various places at the top and bottom of the card and heat set I wiped any ink off the white embossed fingerprints at this stage too, keeping them nice and bright.


Here is a close up of the backing and the layers of colour starting to appear here too.


Next I took rusty hinge distress and the galaxy swirly stamp and randomly stamped in the orangey colour dots in swirl patterns.

 I did the same with white shiny ink too, not worrying about small areas of over lapping, any white pieces that did not look bright enough I add some sakura white gel ink pen to the areas , I also added the same white pen to one side of the black drips to make then look slightly lit up on the page too.

Here is a close up of a section of all I have described so far.

 Using the perfect medium and my little fingerprint stamp I added some random stamps again in a few place around the card and then dusted some turquoise Perfect pearls all over the surface... It looked so twinkly and iridescent on the backing and very shiny too.

 I took a blue promarker and added shadow next to each drip to give it a raised look next to each patch of white I drew next to the drip too.

 Using the a Its still you stamp I stamped the lovely sentiment in plain black on whit card. I then add white in the centre of the writing and then I used that same blue promarker to add some colour around the letters to give dimension of course and raise the letters slightly.

at this stage all I did was mount it onto black card and add foam to the back to raise it up on the backing card.
 Here is a view from the side to show how flat this one is apart from the layers of course with the black and white cardstock.


The finished card , It is so bright and colourful and really is like you can see into the card with all the  layering of inks. I love how it turned out.

So the stamps I used were....


There we are folks I hope you like this one and think about your favourite colours and what stamps you have to create layered inky back grounds too.

I hope you managed to come visit and have a look at today's card and I look forward to seeing you tomorrow for some thing a bit different too...


Hugs and lots of love to all.

Kim
XXXXX


Visible Image Wednesday Part 1.

Hi Everyone

Happy Wednesday . and as usual here I am on this lovely sunny Wednesday with today's Visible Image card and wow is it a bright one.
I think I was trying to match the weather haha.. well hoping it would be a nice sunny day anyway  haha..

How are you all? having a good week so far?

We have some new ladies on the Visible Image team so a huge welcome to them , don't forget to pop over and have a look at the Visible Image blog sometime and catch up on all their work and of course we have some amazing new launches coming too in the next we while......

Today I have a gorgeous bright little 6x6 inch number for you to see and I hope you like it..


A little bit different isn't it but still typically me haha ( I think).


I  have a full tutorial for this card but thought I would do things a little different today and have my post in two  parts. 

so this morning is the finished pictures and tonight when I get back from work will be the full tutorial
so here is another finished view of the card.

 here is another view, I really enjoyed getting all the colour into this one what do you think?

 Here ia a close up so you can see all the layers in the background.


And lastly a side view to show that this on has a lot of inky layers but the actual card is pretty flat for me haha...

Ok my lovlies don't forget to come back later around 6 for a full tutorial on how to achieve this back ground with the gorgeous Visible Image stamps 
I will be promoting it on social media today so I hope we will have a few new  people to welcome and  I can answer your comments too.

See you all soon 

love 

Kim 
XXXX