Showing posts with label glitter. Show all posts

Wednesday, 26 August 2015

Visible Image Wednesday.

Hi Folks

I hope you are all having a lovely week and you all enjoyed the lovely weather we had last weekend and we are on the run up to a nice long weekend hey. How lovely hey... what will you all be doing? let me know down in the comments if you get the chance. Lots of things coming up over the next few weeks so I look forward to keeping you all informed.
I heard some fabby news tonight before we get started on this weeks card and tutorial Visible Image have a 30% off sale on which started at midnight,  They added up the dates for the wedding  now they are back from honeymoon and it came to 30 so that is why you get 30% off and will carry on through til Sunday so If there is anything you would like to purchase  head on over and get yourself a bargain on already fabulous priced stamps I know I am on my way over as soon as I finish typing...
oooo and guess what else you can win tickets to Aly paly in September too if you go over to the Visible Image page too.  They have 12 pairs to give away so if you fancy coming on down and seeing us on the Visible Image stand (hehe) then you have to be in it to win it as the saying goes.

So this weeks card has a Christmassy theme with some of the new  Christmas stamps not long  launched by Helen and Mark my good friends at Visible Image.
Hope you like it.


I love cards like this that have a hand made background using gorgeous stamps and then all the accessories match and make you think the words are perfect which of course they definitely are.

So lets get started on how I put this one together....


So I used Momento Grey Flannel Ink and the White Christmas  snow flake from the stamp set. I stamped the image randomly over the page and made sure lots were dropping off the edge and some just had parts of the very tips showing on the edge of the page too.
 

Next I used the same ink (which looks a little blue here but it is really a grey with a hint of blue in real life.) to ink the edges well especially the corners as it shows in the above pic.


I then took some scrap paper and again inked my stamp with the very same ink and this time i stamped first onto the copy paper and then onto any gaps on the card , second generation stamping helps to give depth to a backing piece such as this and really can look very pretty, alternate how you hold your stamp so you get different sections in different places to keep it interesting.


Once dry cover the card in double sided adhesive so you can then add glitter over the entire backing section.
 I used Vintage sparkle glitter for this one as I just loved the different colours in it, pinks and greens and white but all very very sparkly and pretty.

 Just a close up here so you can see the shiny adhesive and underneath you can see the stamping and over stamping here.

 I added the glitter onto the adhesive and burnished it for a few seconds to make sure all the adhesive was covered. I took an alcohol pen in Denim blue and just dabbed it in places all over the very edge of the snowflake and glitter. You can touch your alcohol marker onto the actual glitter and some of the alcohol colour will transfer and really give that nice bright edge.


I also wrapped some seam binding in several pieces across the  centre of the card and then added a Soft gold colour mat.

I added another mat and layer to the backing and raised this one onto some Foam to give the card some height but not too much.


I wanted to make a home made accessory so I had these tiny weeny cones in a bag not used yet and decided they would be perfect if they were white so out came the White chalk paints and while it dries I      added the same glitter to match the card too.

So it went from the above picture to this one below in just 2 mins or so.


 This is a Little blurry and so you can actually see the colours in the glitter a little which i think is soooo pretty.


 Taking a smaller piece of card I stamped the sentiment from the set in the same Grey Flannel ink from Momento, I took a Denim blue promarker and added some very gently to the letters just randomly , then using a very light cool grey I gave the letters a small shadow to raise it from the page slightly. I also stamped the very edge of the snowflake around the edge of the card and using a quickie glue pen and some of the same glitter I added it around the whole circumference. I gave it a soft gold mat and raised it up on foam before adding it on an angle to the card front.


 As you can see here once you see the snowflake edge on the topper here it really blends to the background once the two are paired together. You could easily use this as branches etc too.


 So next to the embellishment corner. To start I tied a triple white seam binding bow, I also twisted several stamens from my collection together and glued the stems together before snipping to a smaller length too.
I took two Marabou feathers and glued them to the bottom of the card in an L shape. I added my bow on top and then glued the three little cones in the centre, I glued in some of the stamens in the centre and some behind poking out of the bow slightly. Lastly I glued some flat back pearls along the spine of each feather and into the corners on the card  to finish.

Here is the finished image again in all its feathery floaty glory haha.

So the Stamp set I used was called White Christmas and here is the image.


Its so pretty and you can use it in several ways , you can isolate the centre flower and use the outside pieces as branches as well as using it whole in its intended purpose. Endless possibilities as always with Visible Image.
I hope you have a brilliant Wednesday my lovlies and I will see you all tomorrow.

Love to all

Kim 
XXXX


Saturday, 3 August 2013

Lots to show today....

Good Morning Bloglanders.

Hope you are all having a crafty day and enjoying the nice weather in the UK unusually (If you are here) . I spent most of yesterday driving to the coast for a much needed little break so here I am house sitting for a wonderful lady who I am proud to say is my friend and feeding her kitty and fishes while shes off to Egypt which means I get to spend time with my son who lives here while studying.

I wanted to share some Pics of recent posts etc. So here is Last weeks card I made for Heartfelt Creations.
I just love the colours in this Months Burst of splendor collection and played them up with the matching ribbon and coloured the leafy frame to match. added lace which is always instant prettiness and even the matching dazzler on the bow works in with the theme.

Here is a close up of the Glitter I used on the flower which is a Martha Stewart one fire opal I believe.
Next I want to show you the 3 little projects I made for Craftwork cards , I just love their Time flies collection which is so totally up my street and I wanted a selection of different goodies so here we are.
I made an Easel card a card using their new flower shaped base cards and A small box of mini cards.

 Here is the Easel card , you can also see the new bows made from paper from pads of them in the online store here.
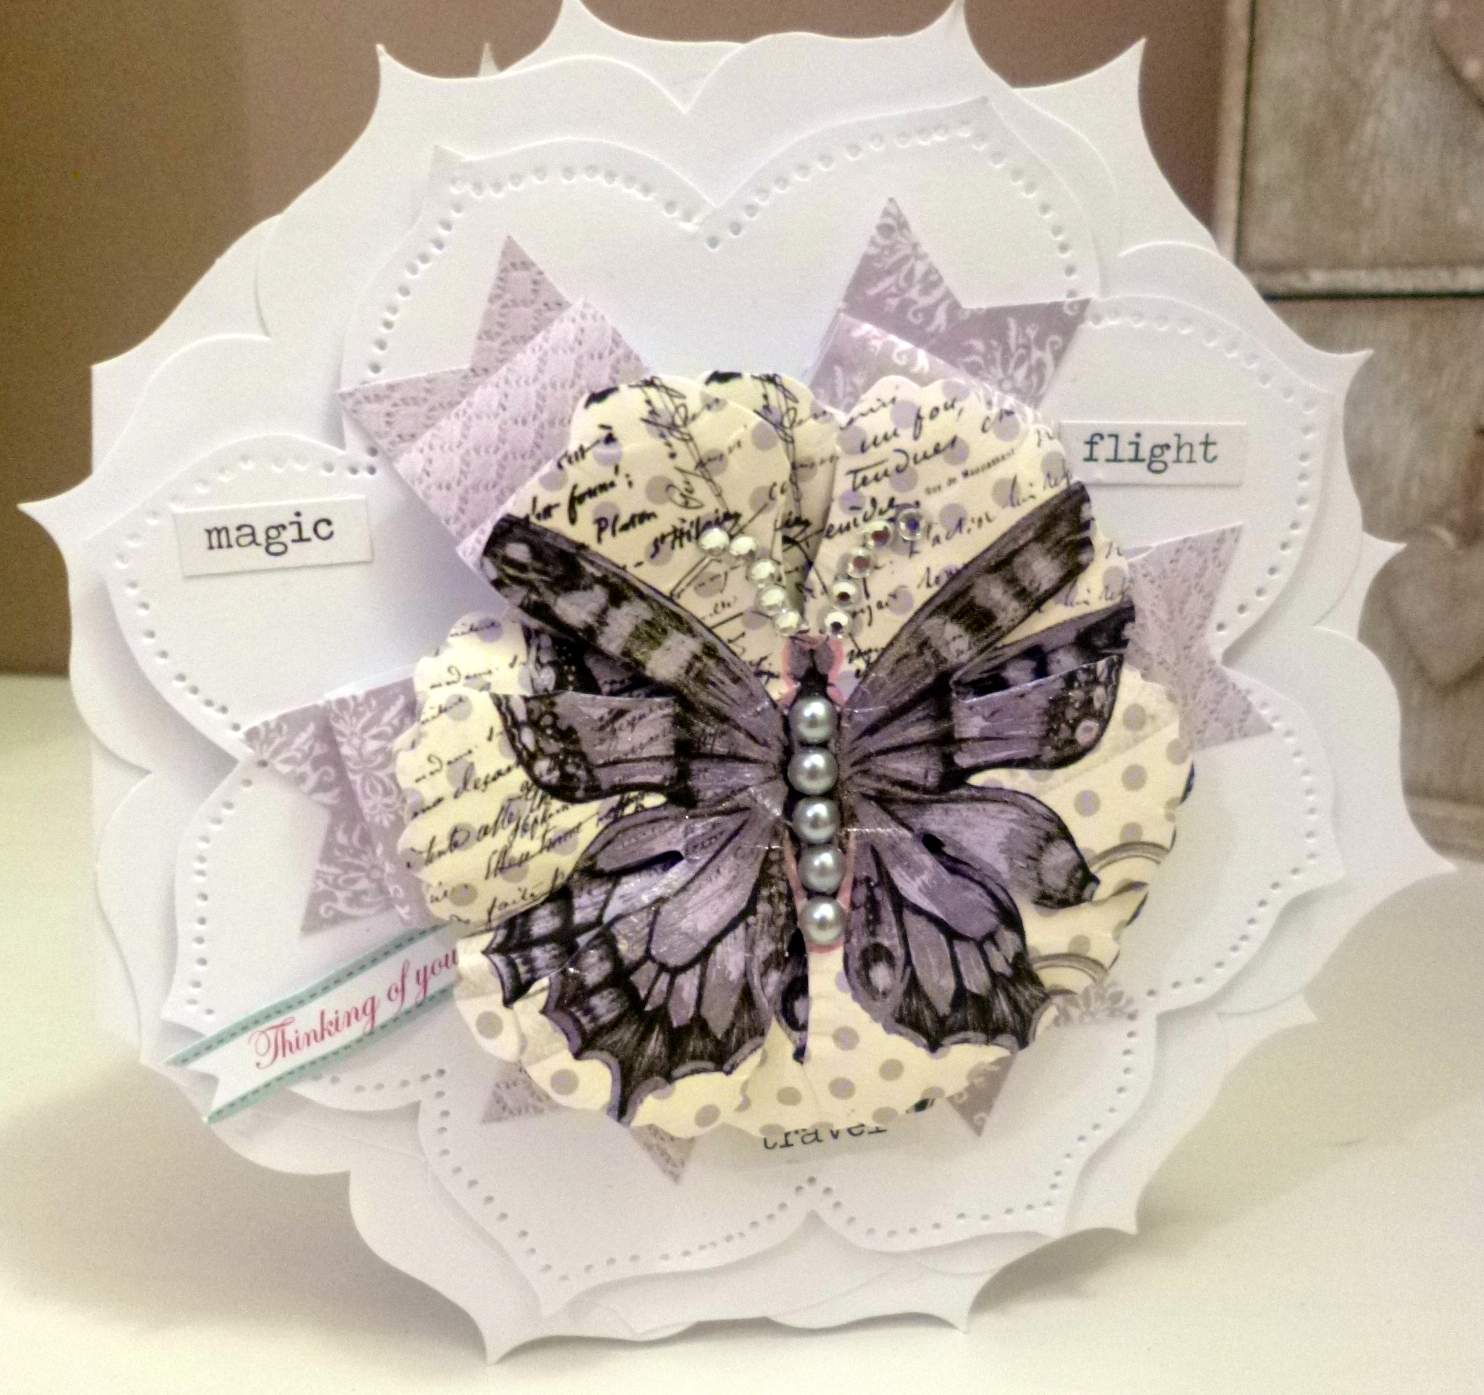
You can also see the bows under the butterfly on the flower along with a mat I hand cut and pierced the edges too.


Above is a close up of My Thanks box with 6 small Thank yous in it. I enjoyed making all the projects for Both teams as always and would love to know your thoughts on both.

Next week the new Christmas launch goodies will be on Heartfelt creations US website with the competition to win the entire collection for everyone so be sure and leave a comment on the collection to win, It is gorgeous.

 The collection was on Create and craft last week as their Las Vegas CHA event was on. Here is a picture (all be it blurry as it was a screen shot) of the collection with The creative director Emma Lou Beechy and on the blue and white card left on the desk is mine which I will be showing in detail with the launch next week. Also the last picture is of the presenter Andy holding another of my cards too.
 Emma Lou and Andy
Stunning isn't it... Don't forget to pop over and comment, you have to enter to try to win...
So I squeezed in a lot today and I hope you enjoyed looking at my projects. See you soon with more goodies and I am now off to sea the sea yay...

Have a great Saturday everyone

Love 

Kim 
xxxxx

Tuesday, 4 December 2012

Another Santa note..

Well good evening my lovelies!

Well hasn't it turned cold woooo every night from work I rush in and shiver 'til I get my steaming tea to wrap my hands around! Winter is definitely breathing down our necks now... with the icy fronds encountering our extremities turning them red first then blue... Making patterns in the air with our breath on the icy morn. Ooo I should write a story with literature in that vane.

I started this  card really by making up all the little flowers from Craftwork's Christmas pad. so I had them all sitting there jostling in the box for my attention, pick me! pick me! haha...
Next I took an 8x8 card base (still my favourite size) and with Versamark ink, I stamped holly leaves around the edge, I used Pan pastels to rub over and add the green to the inked sticky surface. I water coloured some red berries in in odd places to just draw your eye in.

  • I matted the first mat with a sheet of red glitter paper from Craftwork Cards Christmas pad on to gold mirri.
  • Next, I took a sheet of the embossed card in one of their pads and ran over 2 colours of Ink from His lordship sir Tim holtiness.. fired brick and pine needles. Just lightly to bring out the embossing a little, which was then matted onto mirri too.
  • My bow was American seem binding which is so soft and lovely and flexible to work with. Adding a button to the centre of the bow and 2 stick pins made sure Mr Bow was not naked...
  • I die cut the labels 20 large sheet of paper and ever so slightly inked and added it to the card, I coloured my sentiment from the pack, cut out a little die cut to add to the frame around the sentiment and then piled on all the gorgeous flowers and flourishes, some card candi too.
  • Added my gorgeous Clarity personalised stamp with my name on to the back, et voila... tis done..


As always I hope You enjoy looking at the card and maybe trying a few things out too
Crafty Hugs.
Out for now
Kim xxx