Hello my lovely crafty peeps.
Good morning , I have a gorgeous altered frame for your today ( well least I hope you all think it is gorgeous anyway.)lol
I always reach for my browns and blues lately so just for this time I went for purple and green tones, lots and lots of texture and some gorgeous flowers to add to the mix too. I have a step by step for you today as this sort of frame can look daunting if you aren't really a mixed media boff like me but would love to have a go at it.
Before I go into the tutorial I am soooo close to the give away I can almost taste it haha... 199 of you lovely blogglies on here now and 1 more is all we need to get the ball rolling on our little celebratory giveaway for me to give something back to you my Internet family and let you know just how much I appreciate you being here with me. If you have popped over from facebook to have a look today all you need to do is be a subscriber and we will have the giveaway which I will use random.org to pick the number to make it fair for everyone entering.
So here is my
Create Your Future altered frame for The amazing
Visible Image.
This picture doesn't show off the subtle greens in the spritzes but they are there and you will see them as we get further into it.
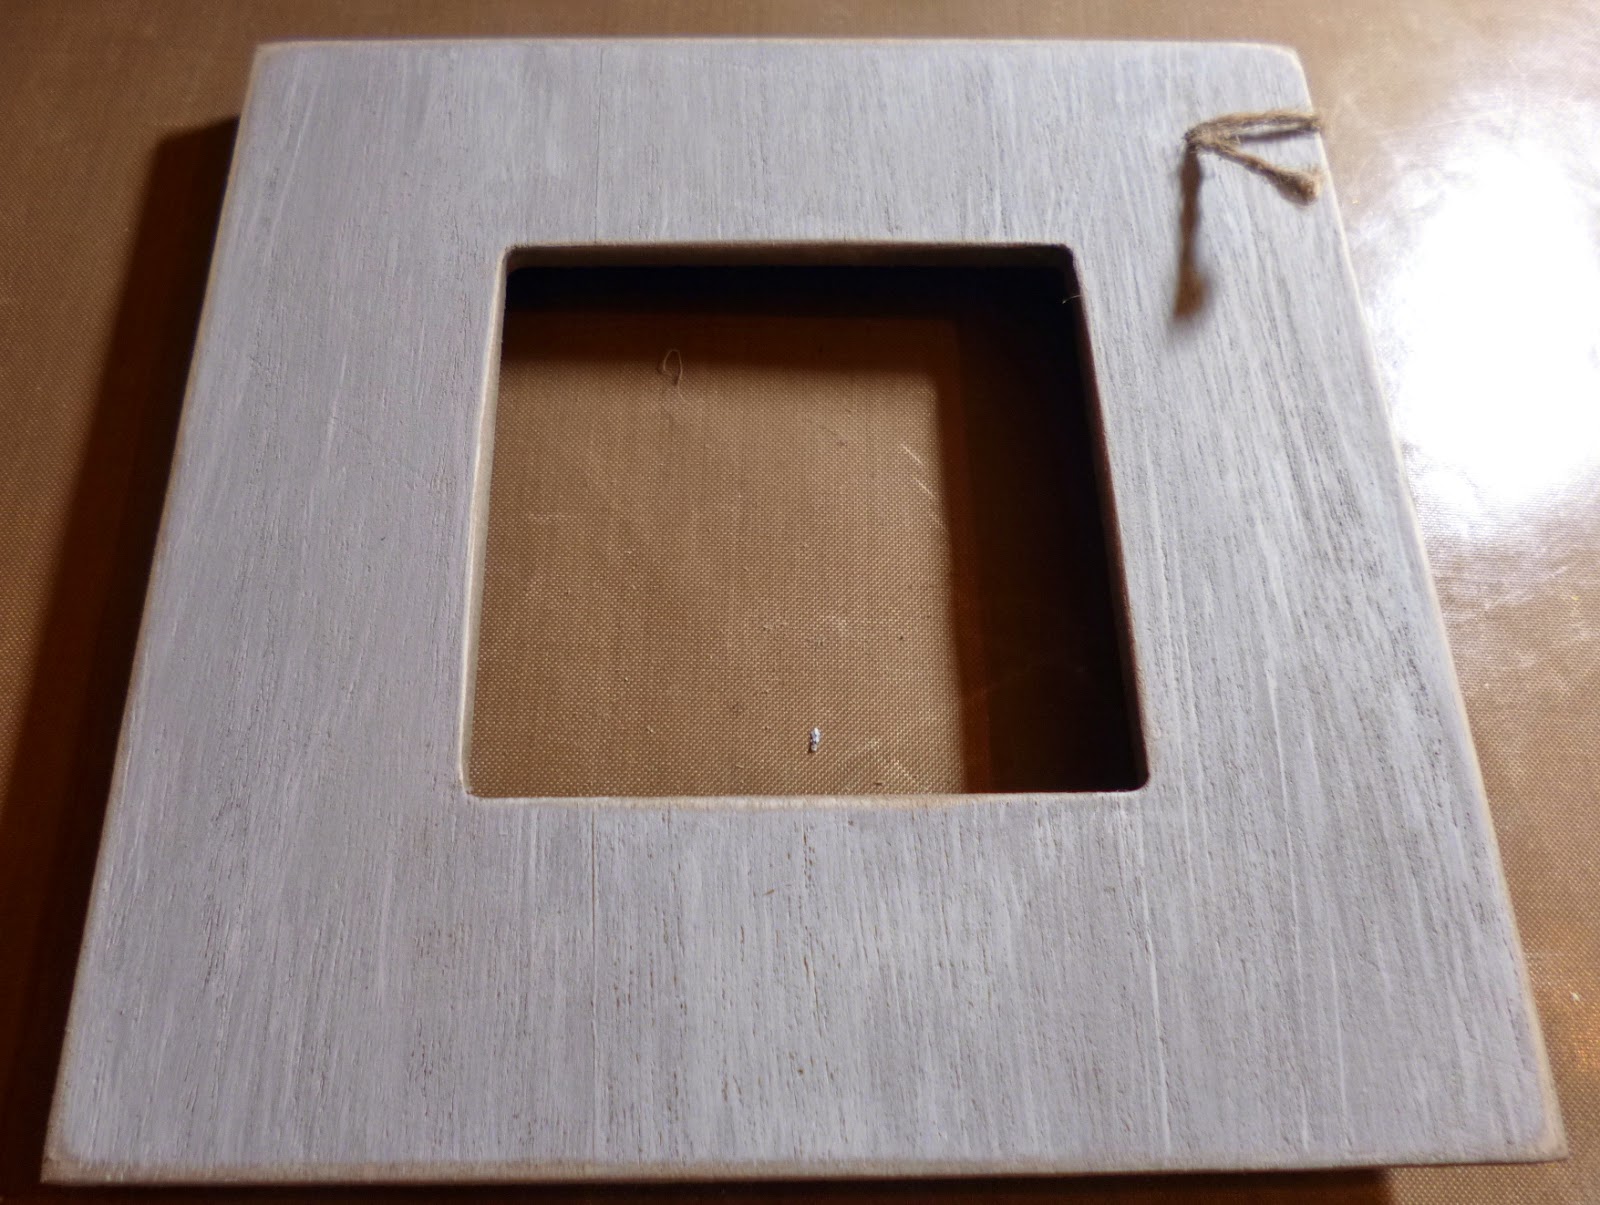
So I started with this blank frame which was in a grey sort of lime washed shade and I covered it in a light coat of off white paint as my base to blend into.
My brush was almost dry and I wanted to keep the grain in the wood as you can see above.
This is an Imagination crafts stencil that I saw used with the ferro paste in a demo and I loved how it sparkles like crazy for other projects but for today I wanted to use it purely because if you heat this stuff lots it swells up and does not collapse as it cools so it creates something that stands off the sundrie and look great as is or painted as I did on this occasion.
This is what it looks like before heated and I just wish you could see the Graphite sparkles cos it is pretty amazing. do any of you have this product? I know it comes in lots of colours but isn't easy to find.
Next I took this Dreamweaver embossing crackle paste and smeared it loosely over the frame, thick in some places thin in the other and heated it til it cracked like crazy, here it is before heated.
Here is is after heating so on to the next step. Are you keeping up lovelies?
Do you think you will try this with me?.
I Took a regular old cheapy tissue and separated the plys so I just had the 1 thin ply and took my
Music Background stamp and used Versafine archival ink to stamp and Image which I then heat set to prevent smears. I ripped it out of the tissue and you want raggedy edges.
Like this .
This product is a runny gluey item to add tissue and other things to frames etc, if you have Mod podge, decopatch glue, slap-it-on , cosmic shimmer watered down a little or even a regular old white pva glue with water added any of those do the exact same job, I prefer a matte finish but you can go for gloss, sparkle and all manor of things and I will be showing you how to make your own texture pastes and gesso's etc very soon too. So add a layer quite generously but not too much to the areas you want to add the tissue then lay the tissue on and coat a thin layer on top to seal it and then heat it up to set it or walk away and make that tea, and I have 1 sugar and milk if your offering, thank you muchly.lol.


So these are the sprays I chose and they are ink spray misters without mica so they do not clog although if you have the ones that do please remember to store them on their side as it is easier to disperse the mica and do not shake them up and down because you send the mica straight up the sprayer and block it before you even start, while the bottle is on its side roll it between your palms until the mica mixes and you will get less blocking although due to the nature of the product you will always get some. I know though if they are Creative Expressions ones you can always ring them and they will replace the sprayers if you are having issues of that kind. The colours I used here were , Grape mist,Soft Moss and Evergreen.
So after spraying the above colours in layers drying in between coats I took my off white paint and a dry brushing technique to bring out the raised details in the frame and all that texturing we did.
Here is the frame after doing all the above, the frustrating thing is in person you can see the music still through the ink but you cannot see the layers on cam I'm afraid. So now I wanted to work out what I would put in the frame with the sentiment I had chosen.
I cut a piece of card in Milk colour and randomly stamped the Music Background stamp irregularly all over the piece of card with Vintage photo Distress ink. I dried it and added some of the crackle paste to the top left corner and the bottom right corner and dried, I spritzed it lightly to match and dried (see the theme lol) I used my vintage photo all around the edges of this little piece too. I took another piece of the same card and stamped with the same ink my Create your Future sentiment , I cut it out on the trimmer and inked all the edges again same ink and added all to the frame with glass in from and a picture stand on the back.

I went back to the frame and took my Grunge flourish stamp , versamark ink and gold embossing powder and added a little detail around the frame first then i went back over the raised pieces and added a little white fire Treasure gold wax to parts of the patterns which we added our off white paint too earlier.Next all that is left is to embellish and add the beauty.
I took a large Wild Orchid craft white rose and sprayed some of my misters onto the craft sheet and just used my finger to dip in an add to random petal edges on the flower , once dry I added a little white paint and spritzed with water , the ink bleeds onto the paint and gives an interesting effect. I dry it completely at this stage and add a little wax again to make pretty.
Here you see my flower in the centre and the rest of my arrangement for this corner, including green wire twirlies and little buds and stamens etc and I spritzed three leaves to match too.
The frame came with a little hanging heart which I crackled and spritzed the same I then added a little sweetheart blossom and some bling to the centre , a little bud and a wire twirl, I also cut some seam binding down the centre to make it fray and tied it too the cord the heart dangles from and added more bling to the bow so it isn't showing a naked knot.
I moved the Little heart out of the way here so you can see the centre section and the white and gold on the raised textures also some inking to the edges of the frame and some of the grunge flourish too.
I also added a little angel/cupid in the centre of the aperture at the bottom and a little bling in the hands, Maybe hes holding his halo lol.
So here we are guys My finished Create your future altered Frame from start to finish, although my heart had twisted in this picture ..arggg.
Here we go this is the completed piece. Is it for you? what would you do different, what colours would you use?
Back to the first picture , oh the measurements for this frame is 6x6 inches and the stamps I used from our lovely Visible Image were.
Grunge Flourish. Create your future.
Music Background.
Well dolls I hope you enjoyed today's altered frame and that you will give it a go with the products you have at home and of course your stunning Visible Image deeply etched stamps make life very easy as they stamp so perfectly every time.
Who is going up to Birmingham in November for the NEC then?
Thank you to everyone for being here with me i appreciate you all so very much, welcome to any new bodies joining and I hope you have enjoyed looking through the items I have created since I started the blog.
Have a great Wednesday and I will see you all tomorrow . Also look out as I will have more days and blog posts coming soon too.
Hugs for now
love
Kim
XXXX