Showing posts with label roses. Show all posts

Thursday, 4 June 2015

Creative Expressions Thursday.

Hi Folks

Happy Thursday..
Today I have a little tag for you and something different as we have entered a new Month therefore new goodies on the Design team, things are a little different from now as we have been split into two teams a die cutting team and a stamping team for the weekly inspirations , I am on the stamping team however I have been sent some of the new decoupage papers line Creative Expressions now carry, This one is called English rose, I also have some of the Mat chalk paints in Azure Mist and Coral Glow so I played with those for a bit and this is the result.                          

it is so hard to photograph glitter an muted tones but in real life this is so pretty and sparkly in shades of pale green and coral/pink.
I started with a plain tag shaped wooden shape.
 I covered it in decoupage paper using cosmic shimmer glue
After sanding back the edges I added some mat chalk paint in Coral glow to them .

next i added a few streaks here and there of Azure mist without covering the roses on the pattern too much,
 I added some Walnut stain Distress ink to the edges too 

 I wanted to use one of the large cameo flowers from CE on the tag so Using the same paints and some wax and later some glue and glitter I changed it to

This...., simply by covering the whole thing in Azure mist and drying then adding coral glow to the flowers and drying then rubbing some wax over. Later a few patches of glue inside the flowers and glitter gives it a nice sparkle too for the top right of the tag.
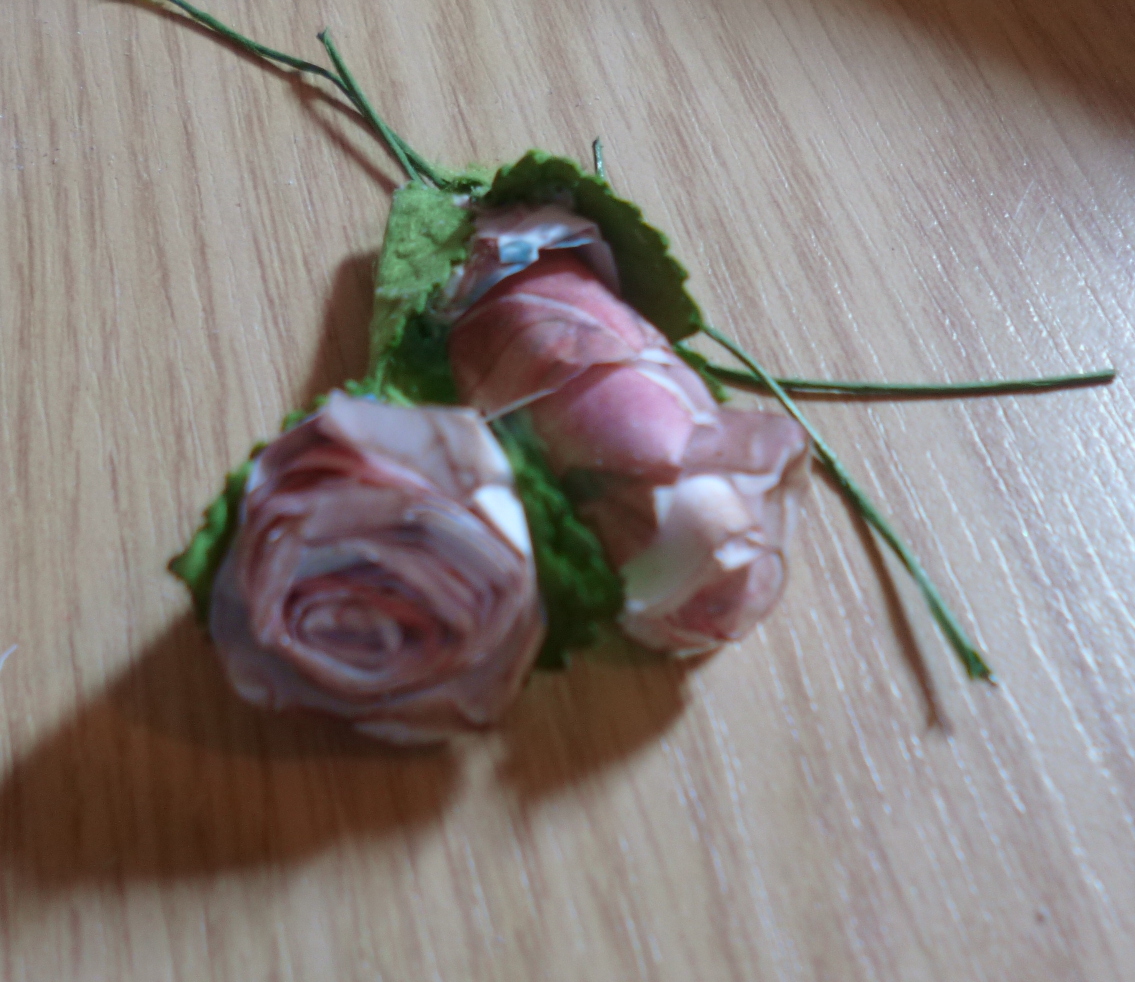
 I used the same tissue paper from the decoupage pack and cuta couple of spiral shapes out and rolled them up pushing back the edges ad gluing a couple of leaves which I muted with the same paints a little  I also wrapped the wires around my pokey tool to give some little spring like spirals for added interest to the couple of flowers I made.I also added a little ink to the edges too and some glitter for sparkle.


 I took a piece of couture creations Rose garden pad and cut a piece distressed the edges and stitched them, then add it to the back of the tag on the left side, I also added glue to the bottom right of the tag and covered it in Antique gold Mica flakes, i also dotted in some large glitter pieces in places

It is soooo glittery and pretty.I thought a close up was in order, haha.

I added a key on top of the glitter, a little wooden clock behind the flowers I also added a small piece of frayed hessian with the cameo on top top right A small wooden flower with 8mm pearl to centre on the top left., I decided to use one more item which is a white satin flower,  I cut the middle out, folded it in half a added a few streaks of Coral  glow  to the petals I glued it together and them added it to the tag under the roses and added the pearl bead back to the bottom of it.
I cut several pieces of cream seam binding in half length ways and frayed it a little and added a string of small pearls to use all as the hanger at the top and wrapped a few pearls around them at the knot too. Lastly I added some more glitter and the hands on the clock with a small pearl and a few more painted and glittered leaves and it was complete.

Here is a few more pictures.


  hanging against the wall, however wall is cream so doesn't show as vibrant as it is.

Anyway it was something a little different this week and I hope you enjoyed it all.
Lots of love to all.

Kim 
XXXX

Thursday, 18 October 2012

Kanban prettiness..

Good Evening All.
Hope you all had a good day. I had a nice dinner out today with my daughter, very nice.
I made a lovely little number which I hope you all like after getting home.
  • I took an 8x8 card and covered it with a tiny border with one of the gorgeous papers from Kanban's vintage pad. Then I embossed another tonal piece with an m-bossibilities A4 embossing folder from spellbinders. I mounted it on foam and wrapped my ribbon around it.

  • I love the colours in this Kanban topper so next I mounted the outside frame of the topper on foam and the middle part I put on sightly higher foam, tucking in a swirl just under the edge before moving on to the flower which was cut out of the left over paper which I embossed earlier.
  • So I cut out some swirls and a flower an rolled it up , inked the petals in two colours.Added some tiny pearls an some sakura stardust pen to the swirls and edges of leaves/petals.I also rolled up a thin piece of the paper and squeezed it leaf shape and added it to the flower configuration.

  • After inking the edges of this beautiful sentiment I added it to the ribbon at the lower right of the card.
  •  I tied a smart bow out of this very wide ribbon and added a die cut leafy branch and a studio 490 resin flower which i inked slightly just to tone in with the theme of my card. You can also see in this picture that I inked the edge of the embossing under the bow which brings it all together and enhances the embossing nicely too.
  • I cut out 2 very tiny little butterflies and added them to balance the right hand side of the topper with tiny pearls down the body to finish off.
Well I hope you like Wednesday's card and think it is very pretty as I really do love showing you my creations and appreciate any comments and views.
Have a good night and take care.
Best wishes
Kim xx


Friday, 21 September 2012

Kanban New Card..

Hi All!

Laying in bed at 11.48 pm, so posting today's card from here. I was so exited my new Kanban kit arrived today, yay! So I thought I would dip in with a really feminine little number. I really enjoyed working with it and love the new lighter weight cardstock, but I loved the other card anyway. Kanban use mostly uncoated card so you can carry on and ink over the top and I do that a lot.

I searched my stash and couldn't find a flower that I liked to match this one so I made one using some flat paper flowers and I inked it and spritzed it with Cosmic shimmer sprays, which I love with all that sparkly Mica. Ta da! The flower:

  • I chose my topper and background card to start... Then used weathered wood Distress and inked the edges and corners really well. I have a small flourish polymer stamp and I over-stamped the corners and all around the page.
  • Matting this onto the Kraft cardstock I chose to use this horizontally, not vertically for this one, you can just see the lines in the picture but it feels fab.
  • I added the border across the middle of the card. Then matted and layered some kraft again onto some black card.with a lattice punched peice of paper from Craftwork cards.
  • Then I used some foam pads to raise this mat away from the card a little. Adding my topper of the wonderful Roses, I went round the petals with a sakura stardust pen and made them twinkle a little. I got carried away and added it to every swirl I had over stamped onto the blue cardstock too.
  • I made my bow from three lengths of American seam binding, which is amazing. Using the spritzer spray I added a little to the edges and scrunched it a little. Adding it to the corner I covered the centre with a matching sparkly button with a blue Aurora Borealis coating. I added some bling and a sentiment.
  • I matted and layered a sentiment inside too and made a matching box.
I added the picture of it to Facebook and Dawn Wheeler commented and said it was fantastic and so pretty! Shes so lovely and works of course for Kanban so I'm glad she enjoyed seeing my card.

I don't know if anyone saw QVC tonight but I enjoyed an hour of Craftwork cards with the Lovely Julie Hinkly, I got lots of inspiration. I just love their products, as you see from this blog I use their
crafty goods all the time.

Anyways, happy Friday folks, I'm working a half day tomorrow so I'm looking forward to that.
Kim xx


Thursday, 20 September 2012

Flutterby Roses.

Good Morning All!

Here is a card made with a very recent kit I got from Kanban. I was playing around and found the lacy rose effect ribbon so I decided on an Easel card. Dawn Wheeler designed the kit and it is beautiful; she did a great job, such a romantic girly feel to it this one. So I had a play and went totally OTT with it, but some how it works.

I love the backing rose card matted on to black, the photo I'm afraid isn't great as it's silly o'clock and the lighting is pretty poor.

I have embossed butterflies with pearls on their backs, rafia ribbon and spiders web material tied up into bows too.

Simple and elegent but lots of elements that took a little while to secure. Tomorrow in the day light I will re-photo and hopefully that will be better!

Crafty hugs,
Kim