Showing posts with label Just making memories. Show all posts

Wednesday, 22 April 2015

Visible Image Wednesday

Hi Folks

I hope you are all enjoying your week and that you are getting some nice sunshine , it has been so very nice to get out of work at night and still see the sun streaming through the trees.
After last weeks quite complicated tutorial I thought this week I would do something a little simpler for folks in the clean and simple vane.
I used three stamps from Our Visible Image Friends and they will of course be listed below or if you have any similar or you would like to substitute one of your favourite quotes or sentiments it is just another way of doing a very quick but smart card to give to someone special.  It is funny isn't it , when we make cards/ gifts we all seem to put our heart and soul and a bit of ourselves into the design and the way we compose it for that person , I feel like I am making it for all of you when I do them as I share the details so much with you all.

Here is today's card and I hope you like it.


 I used two distress inks on this one in Vintage photo and Seedless Preserves. I used off white and black cardstock. Lots of matting and layering with foam in between too.


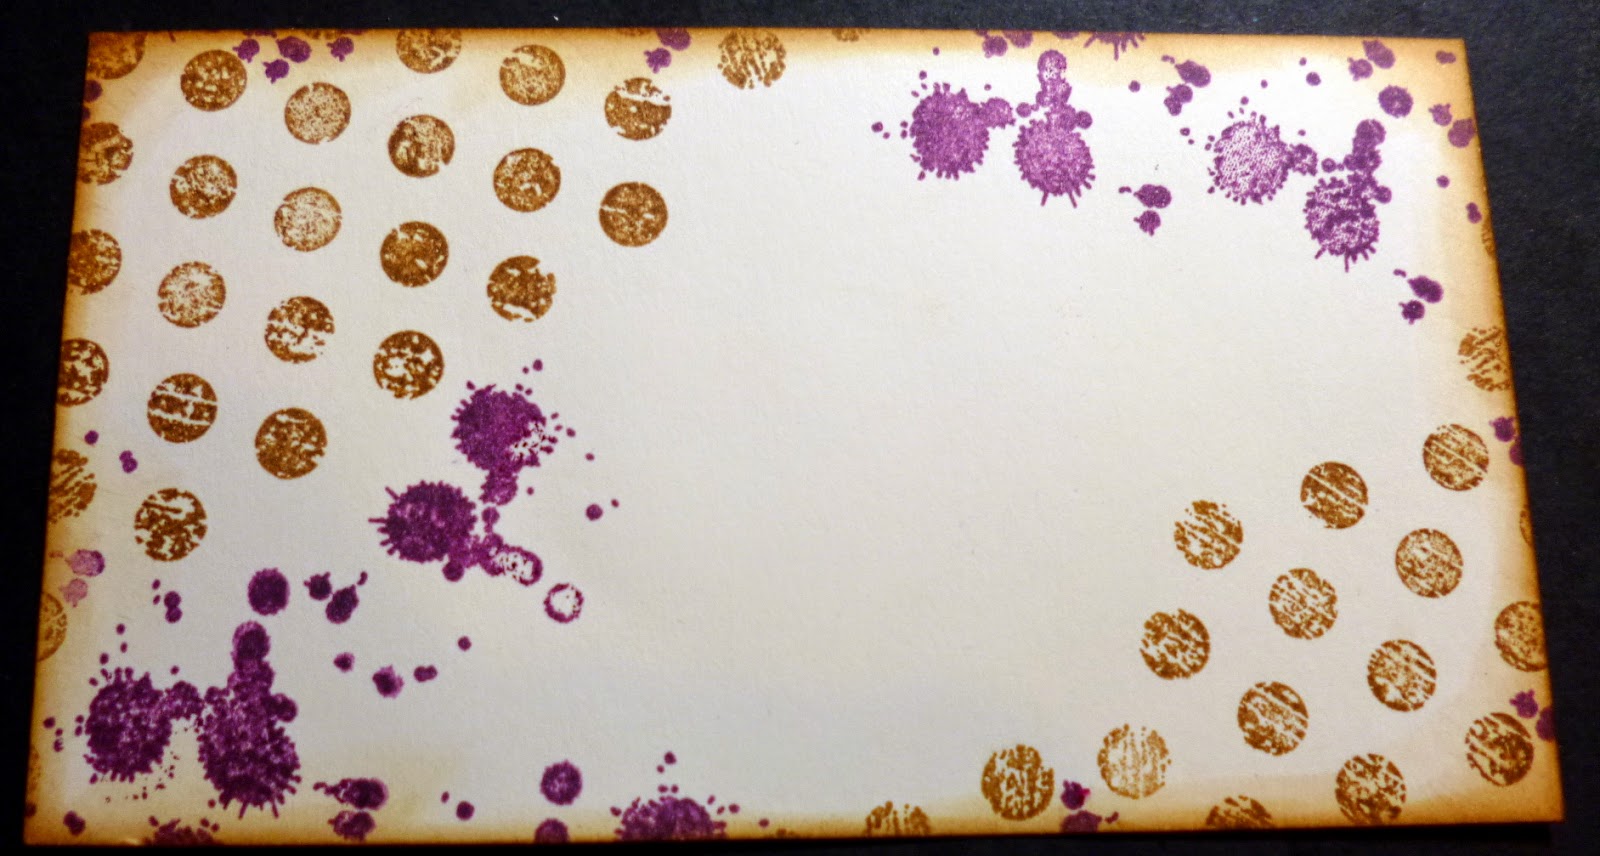
 Firstly,  I took some off white card and my Grunge polka dots background stamp with Vintage Photo DI and stamped a few dots on opposite corners and then took a piece of cut and dry and a little ink with a light hand and added to all the edges and corners of this piece


 I then took my Ink Splat stamps and used a few different ones with the purple Seedless preserves DI
and stamped that randomly , I did keep in mind the sentiment would be around the centre and it would be good to still see some of the inking once attacked to the card etc. I then matted this onto another piece of off white and another larger mat again in off white and then a black layer.

 Here you can see the above mat and layers and how it is starting to sit together already.


I took a left over piece of the off white card and stamped my Just making memories sentiment which I adore in Versafine black ink and added one of the purple large splats to it, I used some of the Vintage Photo to edge this piece as before and then mounted it onto black card.

 Here are two more photos of the card up til now just as I am choosing which way I will go for this one with embellishments. Sometimes I love to match lots of accessories to the card and other times I just want to leave it clean and speak straight to the point and I believe this is in the later category this time.


 I added a couple of small sparkly stones to the corners and a twine in matching purple bow with a sparkly and pearl stone to cover the knot and another of the same sparkle with pearl in the centre to the large splat on the sentiment.
I also decided on one more layer of the off white and black layers to finish off and give the card some real height and dimension after all clean and simple doesn't mean boring and bendy does it folks hehehe.

Ok so the stamps I used from my good friends at Visible Image are listed here.


                                                                    Grunge Polka dots.

                                                                 Just making memories.

So you can see how simple it all came together once it is broken down can't you? Perhaps you can tell me whether you like the mix of tutorials I do each week or if there is a particular type you like best, maybe paper pads or inky ones , maybe the embossing techniques or paints and colour etc, let me know in the comments if you would like too.

Here again is the finished Image 

I wish the camera picked up the vibrancy of the cards made but it really does not pick up how fresh and bright  a card is or the sparkle we like to add  sometimes it just does not matter how many pictures you take it just does not translate so well to the computer.

However I hope you enjoyed this tutorial, thank you for stopping by and looking through, don't forget to subscribe If you haven't already and I will see you tomorrow with some more fun with art and craft work.

Love and hugs to all the lovely folks.

Kim 
XXXX


Wednesday, 29 October 2014

Visible Image Wednesday

Hi Folks

Wow Huge thank yous to all who watched, emailed into the C&C shows I did Monday and all the facebook, twitter, and emails I got too. I am so proud to have you all as my Internet friends and although the demos were all easy quick ones for this Christmas show I felt like you were all there right with me so thank you so very much. Your all so incredibly generous and kind. I am Thankful for YOU.

Now today is my Visible Image posting day of course and as gas has been a bit thin on the ground this week I think I was feeling a little chilly and the autumnal feel of my card for today maybe gives it away haha. I just love the colours on this one and love this seasons texture in cards if not the cold .

 Here is today's card with one of my favourite sentiments, I just love the font and the gorgeousness of the curls and simplicity of the words too. Perfect.

 So using the new Poinsettia set from fabby Visible Image I used the large leaf and clear embossing powder on a 4" by 6" piece of white card.

 I stamped the leaf randomly using Perfect medium embossing ink and the clear powder and heat set.

I then chose all these colours from Lord Holtz of Ranger city. Here we Have Dried Marigold, Rusty Hinge, peacock feathers, vintage photo and walnut stain. I used all of them in two layers in the usual way I ink with the pattern I have used many times here on the blog.

 Once I added the colours I ran some vintage photo around the edge and used the Poinsettia in the corresponding colours to stamp onto the background so it would just have a layer in between the leaves which are now resisting any inks because of the embossed leaves. I also spritzed some drips of water and dabbed it off with a tissue leaving some large blobs and then I had a white paint marker which i flicked at the card too. I then heat set all and mounted onto turquoise and the white card and added some frayed burlap to the left side.


I had a small chippie piece which I got the other week when I went to see Pauline on the team and our lovely Hazel in Hazels shop Dragon Paper crafts in Rugby a few weeks ago and we all went to the local pound shop and I got a couple of these sets and thought it would go nice in rusty hinge on this project so I inked it randomly before adding to the card.
 I also added some Rusty hinge and some Vintage photo to the edge of the Sentiment that I stamped onto a small tag for the card.
 Next I took them same inks and used again the leaf and stamped it n mixed colours  and began cutting them out just randomly , it does not have to be perfect as nature is not perfect and no two leaves will be the same.
 I also decided to emboss one of the sheets of stamped leaves in clear embossing powder to give some of them a shiny look while still allowing them to be manipulated into shape.
At this stage I also added some string around the burlap and added 2 corner pieces in chipboard to and adhered the fancy strip I inked earlier I also added some small string pieces in sections with a small knot to each just for a little added interest. I went around all the leaves after cutting them out to ink the white edges and laid them all out in the colours to make sure a good blend. I added the sentiment onto some foam and laid it onto the card on the burlap on a slight angle.

Once added I started laying down the leaves some flat but a little curled edges etc, and some on foam to raise a little. I added the colours randomly without putting two the same next to each other too much. Once done I simply added a chocolate backing piece and some sparkly brown bling in a few places.
Here is the card totally finished.

I also then found a little charm that says live your dreams on it and thought it would go well with the gorgeous sentiment so added this too.

 Here are two slightly different pieces so  I thought I'd share them both so I hope you like them.


   I think you can just see the poinsettia in the background but in person you can see it very clearly.      
Here are the stamps I used for this one.  

                     Just making memories.                                    Poinsettia stamp set.
       
  If any of  you like to do scrapbook layouts of the project life things and like to add sentiments etc wouldn't this one be a great one to add to the top of journalling tags etc or as the focal point to the bottom of an image say a picture of you with the babies or grand babies. Lovely. The poinsettia is stunning too with a modern twist on the classic Flower of Christmas time. 

Thank you again to all for being with me Monday and hope you will be with me again on the 3rd November for the next shows on C&C too. I am already starting to pull together some of the samples so keep your eye out for sneaky pics on the channel very soon.

Love to all and see you tomorrow.

Hugs
 Kim
XXXX


Wednesday, 8 October 2014

Visible Image Wednesday

Hi Everyone

I hope you had a fabulous weekend and all that have been away on holiday had a great time too.

Today I used another of the fabulous INKognito range of new stamps from Visible Image and created more of a little mini painting than a card, I also think it would make a fabulous picture for the cover of a memory album or for someone going travelling too. Anyway see what you think, I hope you like it, I have done a little tutorial with a few extra pics for this one as although it is flat and looks fairly simple with just a few colours it has a lot of steps and blends to this one.

So here it is and it measures 7 1/2" by 41/2" finished.

I think I am going through my Blue and brown Phase I just love these colours together, My bathroom is in those colours and has been a while and I keep thinking I will change it but then I love them too lol.
Anyway I digress. I used the Inkognito Butterfly and The Just making memories sentiment. I kept the whole thing clean and simple and let the paint and inks ,sprays and mica speak for themselves on these wonderful images.
 Here is a longer view to try to pick up the gleam on the mica , I used two colours which really stand out when you see it in person.
So to start this one I took a piece of water colour card as I knew I was going to saturate it with water several times during the first processes.
I painted the whole piece of white card with white paint ( hmm seems a waste of time doesn't it, nope bear with me).
I then took 3 Distress inks in weathered wood,Vintage photo and Walnut stain and swiped them in from the outside of the page in randomly I started with Weathered wood then , VP and then WS. I then spritzed them with water, and quite a bit of it too and let it run down the page and dried it the layered the process another two more times. If you want depth, layering is a must.


I then took my paintbrush that had a little white drying on the brush and flicked the brush downward on the tag to create the illusion of water or clouds etc. Then I dried it again. You could at this stage easily turn this into aged wood but I wanted it a little ethereal for my butterfly to rise through.


 I spritzed Turquoise and Chestnut Ink sprays that do not contain Mica and again let them run a little and create splashes and drips and dried them off with my heat tool.I also splashed plain water and dried that. At this stage the paper had absorbed a fair amount of water and was getting quite Pulpy  so I gave it a good long dry and really got into the fibres and I also added a few creases along the bottom and then took some more distress inks in Honey and Mustard seed and peeled paint and salty ocean and randomly swiped the yellows and oranges down from the top and the Green around the bottom and the blue to increase vibrancy but this time I  took a little cut and dry foam wet it and swiped out the inks into the picture and the last swipe was a downward swipe for depth.


I stamped My butterfly in Black Versafine ink and dried it very well again and  then set to work with my trade mark white gel pen, lol I added this to anywhere I felt the light from above would hit and make brighter and I even gave him a cool pattern on his back, I lightened all the dots on him so I could go over with my micas too. I smudged some of the white over the splatters coming off the side and wet it a little to make it look splodgey ( what a word) Kimglish again lol.


 I did the same after stamping the sentiment next and going around it in white to make it stand off the page even though it was a flat picture this time.
Next I took a Versamarker and two Perfect pearls Mica powders starting with turquoise and then Heirloom gold and pulled in some colour from the side in the last layer needed to added shine and yet more dimension.

 I must get some more of these wow they shine so much , never realised the turquoise had violet and gold and even a little peacock type shine to it , love it.

 So now you can see the blues and golds much more vibrant and yet you can still see all those layers going through, If I was then going to make this into a tag I could of used the wonderful Bronte border script and the ink splats to add yet another layer and lots of embellishments to truly add that mixed media feel that I love so much But I almost wanted to show what you can do with a water coloured background with a few simple steps and layers.

Then.....    I heard a faint Meowwwwwww..... from outside  ( it is 1.30 at this point, a.m) I replied with meow ? and then again I heard Meowwwwwwwwwwwwwwww getting louder so up I got and hobbled down to the kitchen ( foot sore this cold evenings and stairs do not help).
anyway I got to the back door and the meowing was getting shrill.. I opened the door and there she was the neighbour over the backs kitty , she was outside in the cold all alone again so I had to let her in for a warm up and there she decided to sit on the back of my chair and hang on for dear life while I moved and spritzed and inked while she waited for me to curl up with her after I finished. funny little thing. I wouldn't mind but she had been in in the daytime and I had sent her up on the fence to go home early evening and she clearly decided not to go lol..... hmmm she looks far too comfy doesn't she haha.
                                       Meet my lodger... "Duchess" ( not my choice of name lol ).

Back to the card, At this point I went over again with my white pen to make sure everything was standing out that I wanted to show up , especially n the butterfly and the sentiment letters , then all I did was mount the entire piece onto some turquoise card and some cream card and called it finished but I could easily have played a lot more , I really just love the simplicity of this though and how water colouring with ink is just as pretty as regular water colour.
This year water colour is becoming huge again and lots of people are trying more techniques and bringing out images that can be coloured this way so enjoy these techniques and have a go yourself , remember I also would love to see any work using anything you have seen or if you have anything you would like me to show you , I am starting to make a list of things for when I start making the videos for You Tube so I will have lots of ideas to film straight away so get your thinking caps on my lovelies and I will note down any ideas which I appreciate greatly as I want to film what you all want to see and at what level you would like too.

 See how the blue looks like sky and the sentiment is up in clouds and the butterfly is soaring up to meet it. ( well that's what I was thinking).

I took it tilted on the table as I was trying to get the crazy shine picked up but this just does not do it justice really, I will of course give it to our Helen and Mark so Maybe if any of you get to the NEC you might see it on the stand and recognise it haha.

The wonderful stamps I used on this one were.

                   Just making memories Sentiment.                     Butterfly INKognito.

So I hope you enjoyed this one today and you will leave me a comment or two and let me know what you think and maybe what else you would like to see on the blog and what you would like me to film for my list.
Have a wonderful Wednesday and I look forward to reading your lovely words later and I truly do thank you all for being here with me and enjoy every single one of your company too. 
Not long til our fab give away too, woo hoo.... 

Lots of love and see you tomorrow.

Hugs
Kim 
XXXX