Showing posts with label Visible Image. Show all posts

Tuesday, 3 November 2015

Visible Image Tuesday.. Yayyyyyy.

Hi Folks

Well as promised Visible Image tutorials have now moved to Tuesday and I thought I'd start with the step by step for my recent pink card that was done in aid of The Big Pink week for Breast Cancer awareness.
I am sorry it is a bit late coming.
This weekend was certainly a sad one , it would have been my husbands 60th birthday Saturday so we were all a little sad he wasn't with us to celebrate his special day on Halloween but I know he is always with us.
I hope everyone is well and that you all enjoy looking through this vision of pink using the very special Visible Image stamps.

To refresh on the Pink card here it is.


And here is the full step by step.


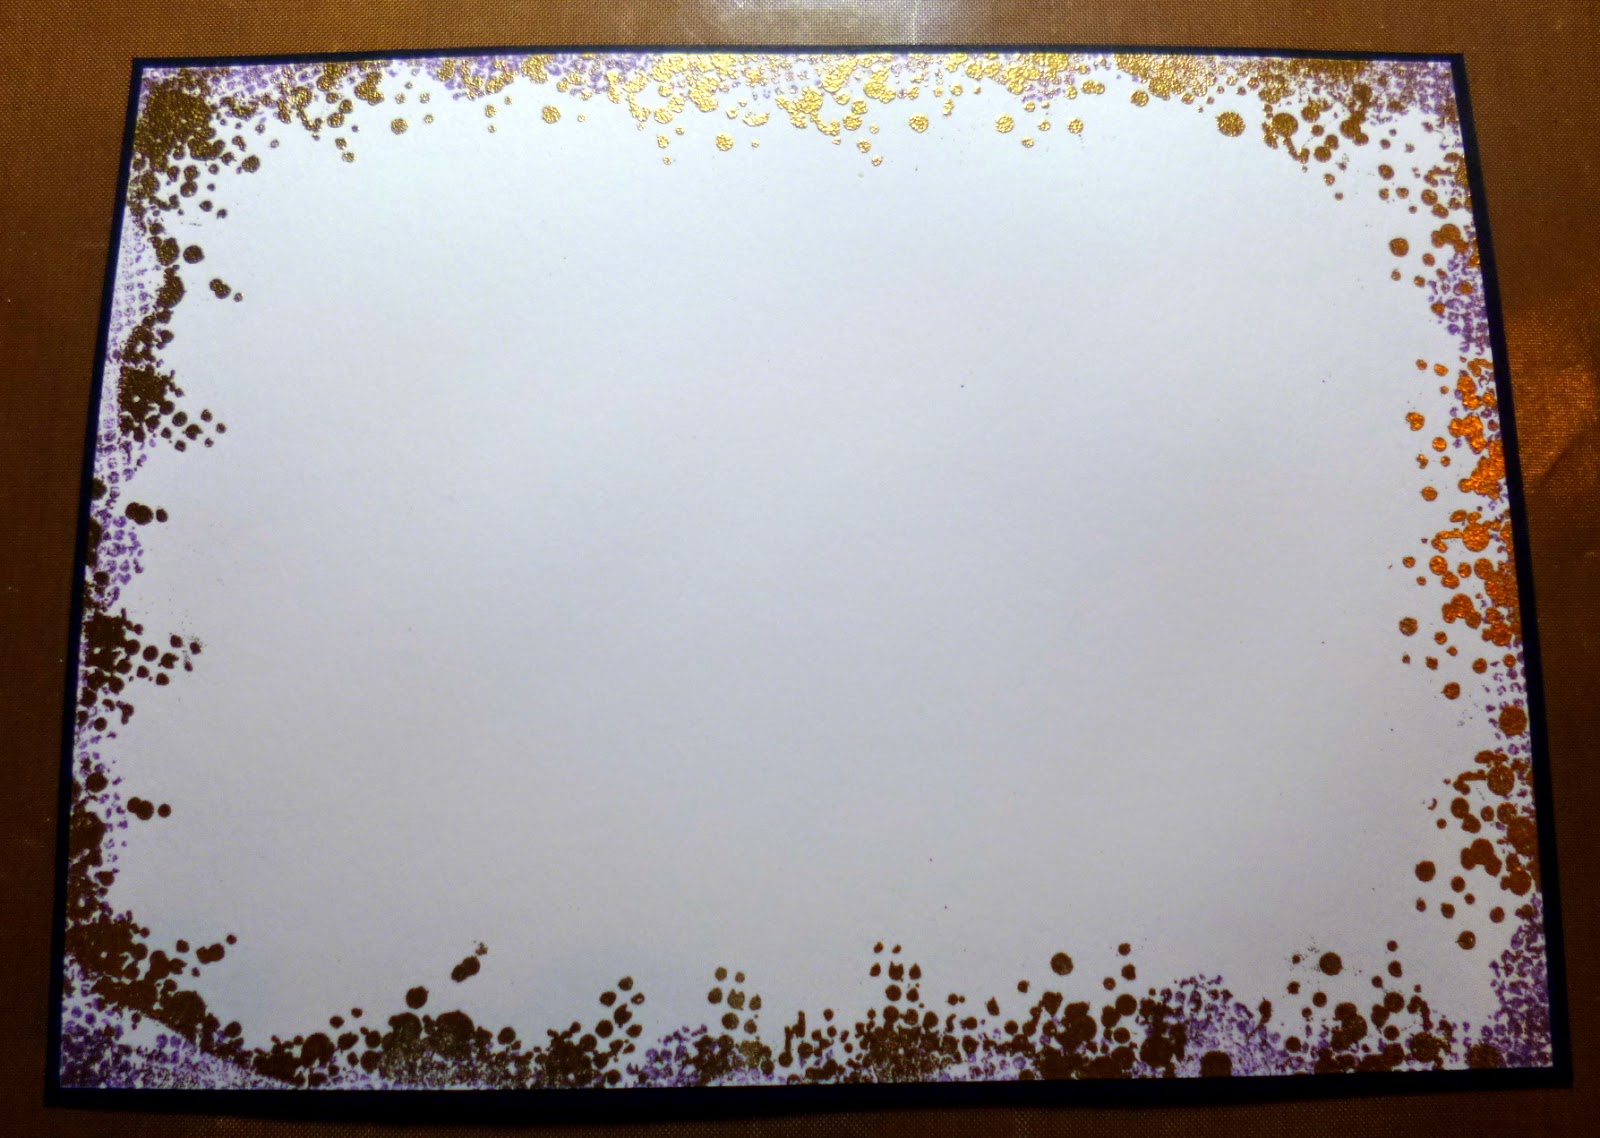
 To start I took a rectangle piece of white card and used some picked raspberry and spun sugar distress inks to blend it all out to this fade in the above picture. I then used raisin adirondack ink and the script stamp from The Revolution set and stamped off the page in a random pattern. But leaving the top right and bottom left corner fairly clear.
 

 Next I tore the paper toward me on those two corners that i left blank to expose the inside core . I used some of that raisin ink to rub those edges and also some Walnut stain Distress ink to darken them a little further. Set aside to dry.

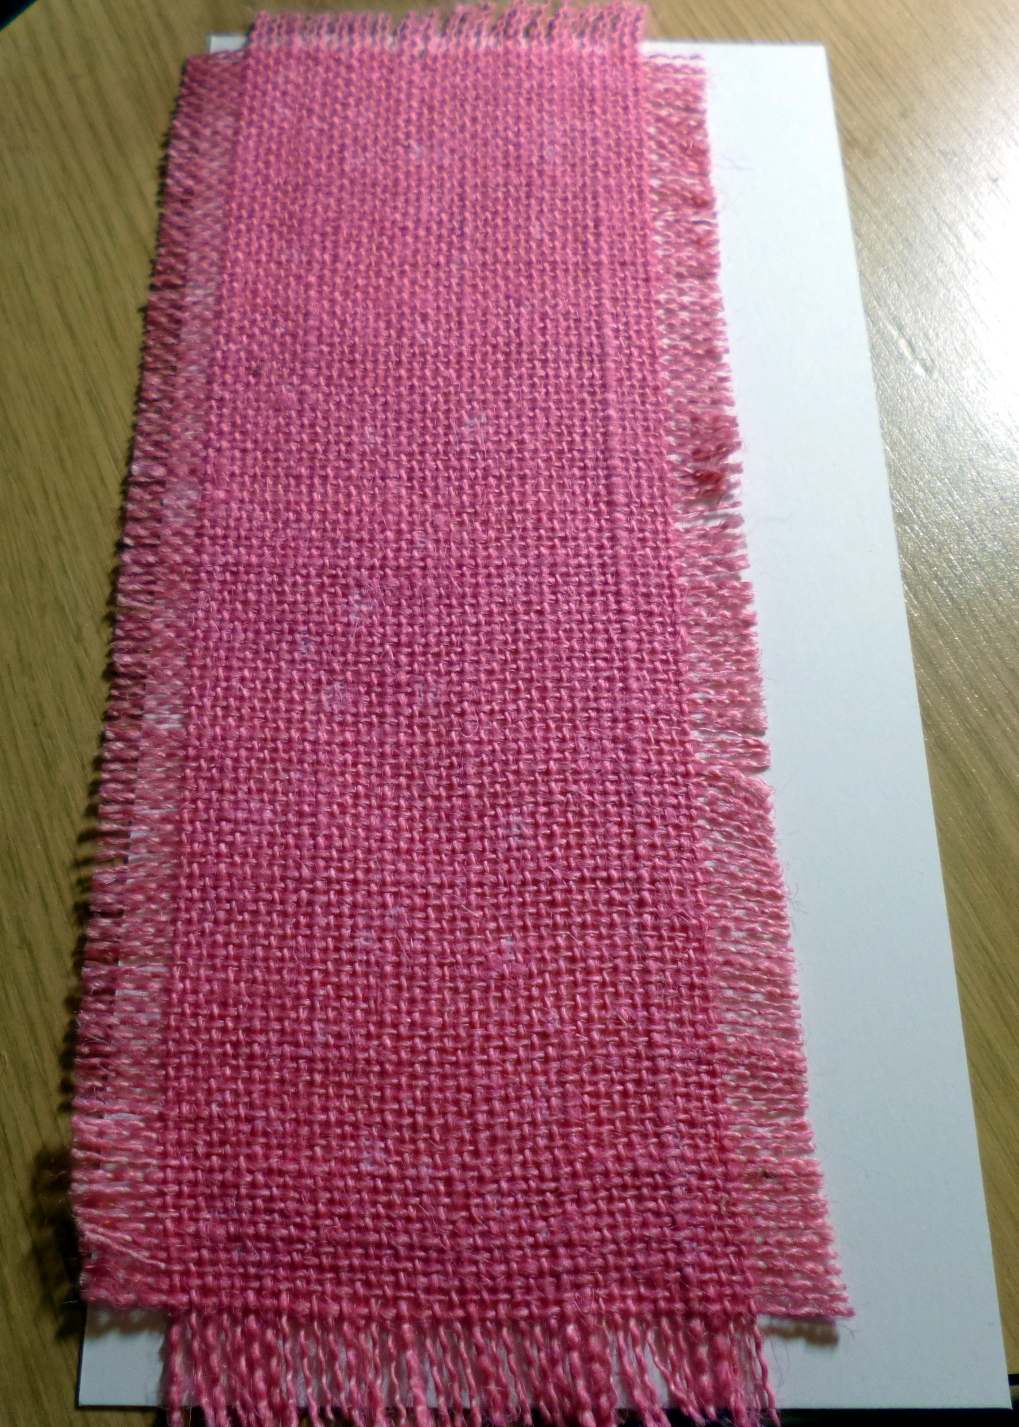
 I took a larger piece of white Card and glued the pink hessian I had in my stash to it to the left hand side.

 I added foam to my first piece and added it to the second with some wet glue to stick on the Hessian really well.

Then I gave it a black mat to sit on which instantly makes the darker ink stand out.


 I used some dripped glue with some Frantage embossing powders and glitter to add some interest to the the top right of the card as I knew I was going to attach something above this.


 I stamped this lovely sentiment out and tore the edges inking the same way as the last piece with raisin and a little Walnut stain. Raising it up on to foam and adding it on a jaunty angle to the card front.


 Next I took a plain white resin piece, which was a side on butterfly or moth one or the other and added some pink to it with a Promarker and the added glued and cover in glitters. This I glued above the embossing we did and to the to right of the sentiment.

Here is a close up.
 All that was left from here was to add a little breast cancer symbol in ribbon topped with a pearl and I tied a bow using some of the hessian taken from the edges of another piece and added a sparkler to the knot and Voila... complete.


Here is the finished item again.

The stamps I used were .


 The best days.


Revolution.


I hope you enjoyed this one and you can see what you can do with just a couple of fabulous stamps and some hessian and glitter too.

Thanks for stopping by as always 

Lots of love

Kim 
XXXX

Friday, 16 October 2015

Visible Image BIG PINK BLOG HOP...

Hi my lovelies..

Visible Image is raising funds for Breast Cancer Care throughout October with our BIG PINK EVENT!

Today is our BIG PINK BLOG HOP so we hope you will join in and help us raise as much money as possible for this wonderful charity. 

You'll also be in with the chance of winning an AMAZING bundle of stamps! 
**Look out for and collect the pink letter at each stage of the blog hop!**

More about our BIG PINK fundraiser...

Breast Cancer Care's BIG PINK event will help more people find a way to live with, through, and beyond breast cancer. It really is a wonderful charity which is close to our hearts.


Visible Image is donating 50% of all sales of their 'Stay Strong' stamp during the whole of October. These beautiful words are perfect for anyone facing difficult times.


We have an EVENT set up over on Facebook where you will find all the details of our fundraising activities! So please come and join in, and invite your crafty friends too... There are some fantastic prizes to be won this month!

Here's the blog roll for today's PINK BLOG HOP...

START AT...

Visible Image Blog
Kim Bacon
Sue Joseph
Lisa Nygards
Kim Robertson - YOU ARE HERE!
Teresa Morgan
Pauline Butcher
Susanne Rose
Kim Johnny
Karen Liddle 

END AT VISIBLE IMAGE BLOG - http://visibleimage.co.uk/2015/10/big-pink-blog-hop-visible-image/ where you will find all the details of how to be in with a chance of winning our fantastic prize! :)

You should have arrived here from  Lisa Nygards blog post.

So we all have been busy creating our fabby cards and items for today's hop and here is mine...


Lots of texture and Raw touchy feely items on this one, I really enjoyed playing around and creating this, tomorrow I will have a full post on how I created this piece as extra so you can concentrate on the Hop for today so do come back tomorrow if you would like to see how to put this one together.

 The Breast Cancer Symbol as always is so empowering for all of us but especially women. although guys are effected by this terrible disease too.

 The wonderful sentiment that I just adore.

A close up of embossing,glitter and pearly goodness.

Don't forget to swing back tomorrow and read the full post on how to... with lots of tutorial pictures to follow along with as always here on my blog.

Next 

You will need to head on over to Teresa Morgan's blog to continue on with this fantastic Hop.

 Good luck to all and don't forget the wonderful prize you could win pictured below.

AMAZING....
Thank you so much to all of you that have entered and are following along for this wonderful cause and a huge thank you to Helen and Mark for creating this fabulous Hop and donating such a huge prize of over £100 in stamps and 50% donation from Stay strong too and of course all the work that has led up to today.
Good luck with the hop everyone and my heart is with anyone touched by this awful disease right now

Love as always to all on this special day.

Kimmy.
XXXXXX


Wednesday, 2 September 2015

Visible Image Wednesday

Hi my lovlies,

Hope all is well this week , today I gave myself a little challenge , I decided to limit myself to one stamp set from the gorgeous new Christmas range from Visible Image so I chose The Merry Little Christmas set, Then I decided to keep to one colourway just a few tones of it. I really enjoy doing things like that and sometimes it can give you more inspiration by limiting how much you can choose.

So here is today's card.


Definitely something a little different and almost whimsical don't you think.
So My usual tutorial begins here and I hope you will have a go , it is as complicated or easy as you want it to be, you certainly can leave out any of the fiddly steps and simplify it if you would like a quicker card to do.


 So using the little Christmas tree swirl I stamped it three times on white paper with the Adirondack ink Meadow.


 Using the same stamp and Lettuce ink pad stamp the swirl again , slightly offset the three trees as I have here in the picture.


 Next using a darker green  Archival Ink pad stamp the swirl again but this time in the centre to give the rounded shape of a Xmas tree.


Once you have got the basic shape using the swirl and different green inks you can take a gel en in white and doodle a pattern onto the tree, I went for a sort of ear garland wrapped around the tree branches.


Next Using a gold gel pen I added some droplets to the branches , just a few gold dots in varying sizes made these.
 Using a cold grey 2 promarker I went around the decor with the pen creating a shadow in the tree.


I also added a litte cross hatch sketching to a few of the corners to give it that artsy feel. Using a quickie glue pen and some glitter I added this to all the shadows.


Of course you all know you cannot get the full sparkle on camera whatever you do but here is a litte peep at the gleam lol.


 Cut to size and ink the edges ready to go as your topper for the rest of the card once complete.


I took a larger piece of card and using the swirl stamp again added the three colours and over lapped some of the colours etc. I used the inks and blended the edges so it isn't so stark white at the edges.


 I added  the extras exactly as I did on the tree section we made together so here you can see some of the cross hatch sections and some of the white highlights and the gold little dots in a little garland pattern.You can also see that I added that same grey alcohol marker in sections.

 I added the whole piece onto a mat of very dark aubergine card, I really do love this card and it goes fab with the greens in the inks.


Ok, so next I stamped the sentiment from the set in Black momento ink so we can go very close with the alcohol marker to give the letters a shadow, we also need to add a little highlight on the letters too and then of course mat the whole piece on that same dark card.

So adding everything back together here is the the finished piece again.


Of course whats a tree without something sparkly and pretty on the top..?  
 

Here is another view which picks up a little sparkle on the tree.

So the fabulous Stamp set I used for this one from Visible Image was 


So I hope you enjoyed today's card and you will have a go at limiting yourself and just see what you can come up with, sometimes if your creativometer is running a little low this gives a boost and kick starts the old brain juices into action again.

So to some exciting news... I will be at Aly Paly this month On the 19th and 20th on the hugely popular Visible Image stand doing make and takes for both days and I will also be in the tent doing some demo's on each day so I hope you will come down and say hello and join us on the table to see what quality these stamps made by Mark and Helen truly are. I cannot wait to meet you all if you can get down to the show and have a good old chit chat and a craft together, it will be AWESOMMME. Huge Thanks to Helen and Mark for asking me to join them for the weekend, what an honour.... Thanks guys. xx

Have a wonderful Wednesday as always.

Huge hugs

From me to you

Kim 
XXXX


Wednesday, 6 May 2015

Visible Image Wednesday..... Yay...!

Hi Everyone

Thanks so much for stopping by and checking in on our little blog.
Well April showers hit us at the beginning of May that's for sure but I am hoping they don't stay for long so we can get back to our spring weather we had just started to enjoy.
How are all my lovelies , I think of you all often and wonder what you are up to and if you managed to get any crafting done that day. What was the last thing you made?

Today I have lots of pictures and quite a busy card  with lots of stages so definitely not a beginner card, it does however utilise that technique I showed you all a couple of weeks back where we melt the UTEE and stamp into it rather than set up and use the melt pot for one stamp impression.

Here is today's card for the fabby Visible Image I hope you all like it and would give it a go, or if it is too busy feel free to simplify it and give it a go with what you have or prefer to use.

This one has lots and lots of texture and movement, I really enjoyed putting it together and making the backgrounds from a blank white piece of card.

So to start.

 I took the Crackled background stamp with some Pebble ink from Ranger and stamped randomly with the stamp in my hand and not on a block so I could add bits exactly where I wanted them I left the centre more clear than the two opposite corners.


 Next I took The Bronte script stamp and added some again random areas of stamping which you can just see on the top left of this image above, I embossed this stamping in clear embossing powder to allow the white of the card to show through whatever we did on the card.

Once the stamping was this far I took milled lavender Distress ink first and subtly blended the inks into the centre then I brought the darker colour of Dusty Concorde in and really worked the colour into  the embossing which we did earlier, which really makes the embossed writing stand out on this bright purple. I also used a little black distress ink on the very edges.


 These are the predominant inks on this card.

 I took the Edgy set of stamps next and some versamark ink for embossing and added the stamp impressions around the edge of the card, I then used some sparkly purple and clear embossing powder to give the card a lot of brightness and glamour.

I matted this piece onto a piece of white card and set aside for now.

 I took the smaller of the two stamps from the Edgy set and the same Dusty Concorde ink and stamped around the edge of a larger piece of card to use as the backing piece.

 I went back around with the larger of the two stamps in the edgy set and stamped over the purple with versamark embossing ink and then used gold embossing powder  Once I heat set it I matted it onto a piece of Black card with a very small amount showing.


I stamped out the sentiment I wanted to use, called Just making memories which I love and coloured the piece to match the card of course, I just love the font on this sentiment, it reminds me of writing in an age long gone for some reason.


So next to recap on what we learnt a couple of posts back , I rubbed some versamark ink on a piece of card and tipped on some Ultra think embossing powder , I heat set from underneath, not only does this create a much smoother surface to stamp into but it also means the utee granules stay put as they are inclined to fly all over the place if you try to heat from above on the first couple of layers are the slippiest I'd say. You can do as many layers as you want but I find 2-3 is ample as it will snap when cold unless you melt some flex in with the utee.

 Once I had enough layers I inked my stamp with more versamark this time to act as a release agent after we press our stamp into hot melted Utee. Move quickly and if it starts to set too quick or your image slips etc that ok just reheat all the UTEE and re stamp the image again.

 This is how this image came out this time and as you can see I didn't press hard enough in the top left hand wing but as I know I am making wings for the dragon fly from acetate
, and colouring then with alcohol markers so this tip of the wing will not show so is fine for this imprint,
So here is the dragonfly stamped with Staz on ink on acetate and cut out, then coloured with alcohol markers on the back of the image not the side with the staz on. I then cut it out carefully around the edges and bend up the wings into position.
 Once the wings were bend I added a tiny bit of glue down the under body of the dragonfly and stuck it on top of the impression we made in the utee.
I also coloured the edges of the ripped card and added some beadazzled bead and sparkles into glue in varying sizes and I also added some tiny sparkly stones.
I set this aside to dry for a while while we finish prepping the base.

 I did a double layer of white card with foam in between for the backing piece to sit on.

 Then the coloured sparkly piece was added to that. With the sentiment on a jaunty angle and sitting on a piece of cheese cloth too.

I decided I'd add a little more of the cheesecloth poking out from under the seat the  dragon fly sits on too.
I also decided at this stage to add some tiny little sparkly stones to the body of the dragonfly, this really does stand out extremely sparkly in person but again as we have mentioned before the camera just never does the images justice with glitter.To finish all I did was go around wit my glue and teeny weeny sparkly stones and add them anywhere that I felt would benefit. I also added some of the super sparkly beadazzle bead and sparkle pots , I wish you could see this in person (arrrrr)

 Anyway here is the finished piece again  I really enjoyed putting this together and doing some of the fun stuff we used on this one. I hope you will give this a try if you have any Utee about as it really is a lot of fun, it picks up alot of details from the  stamp or whatever you use to make an impression into the utee.

So the stamps I used on this one were.
                                                                            Edgy

                                                                Crackled Background

                                                              Just making memories.

                                                                     Bronte Script

                                                                        Dragon fly.

I hope you liked this card it certainly is a little more complicated with lots of steps but hopefully you will all be able to see what I did from the pictures.
Please feel free to come on over to the Visible Image blog today and check out my post there if you would like to leave me some love on the main site , that's always nice too but I am so appreciative of you all being here with me. The other gals do some awesome work too and we are having a few new teamies soon so it be great if you would like to pop along and meet them once all have been chosen in a while too.

Have a wonderful Wednesday my lovelies

Love as always to all

Kim 

XXXX