
Well as promised Visible Image tutorials have now moved to Tuesday and I thought I'd start with the step by step for my recent pink card that was done in aid of The Big Pink week for Breast Cancer awareness.
I am sorry it is a bit late coming.
This weekend was certainly a sad one , it would have been my husbands 60th birthday Saturday so we were all a little sad he wasn't with us to celebrate his special day on Halloween but I know he is always with us.
I hope everyone is well and that you all enjoy looking through this vision of pink using the very special Visible Image stamps.
To refresh on the Pink card here it is.

And here is the full step by step.

To start I took a rectangle piece of white card and used some picked raspberry and spun sugar distress inks to blend it all out to this fade in the above picture. I then used raisin adirondack ink and the script stamp from The Revolution set and stamped off the page in a random pattern. But leaving the top right and bottom left corner fairly clear.

Next I tore the paper toward me on those two corners that i left blank to expose the inside core . I used some of that raisin ink to rub those edges and also some Walnut stain Distress ink to darken them a little further. Set aside to dry.
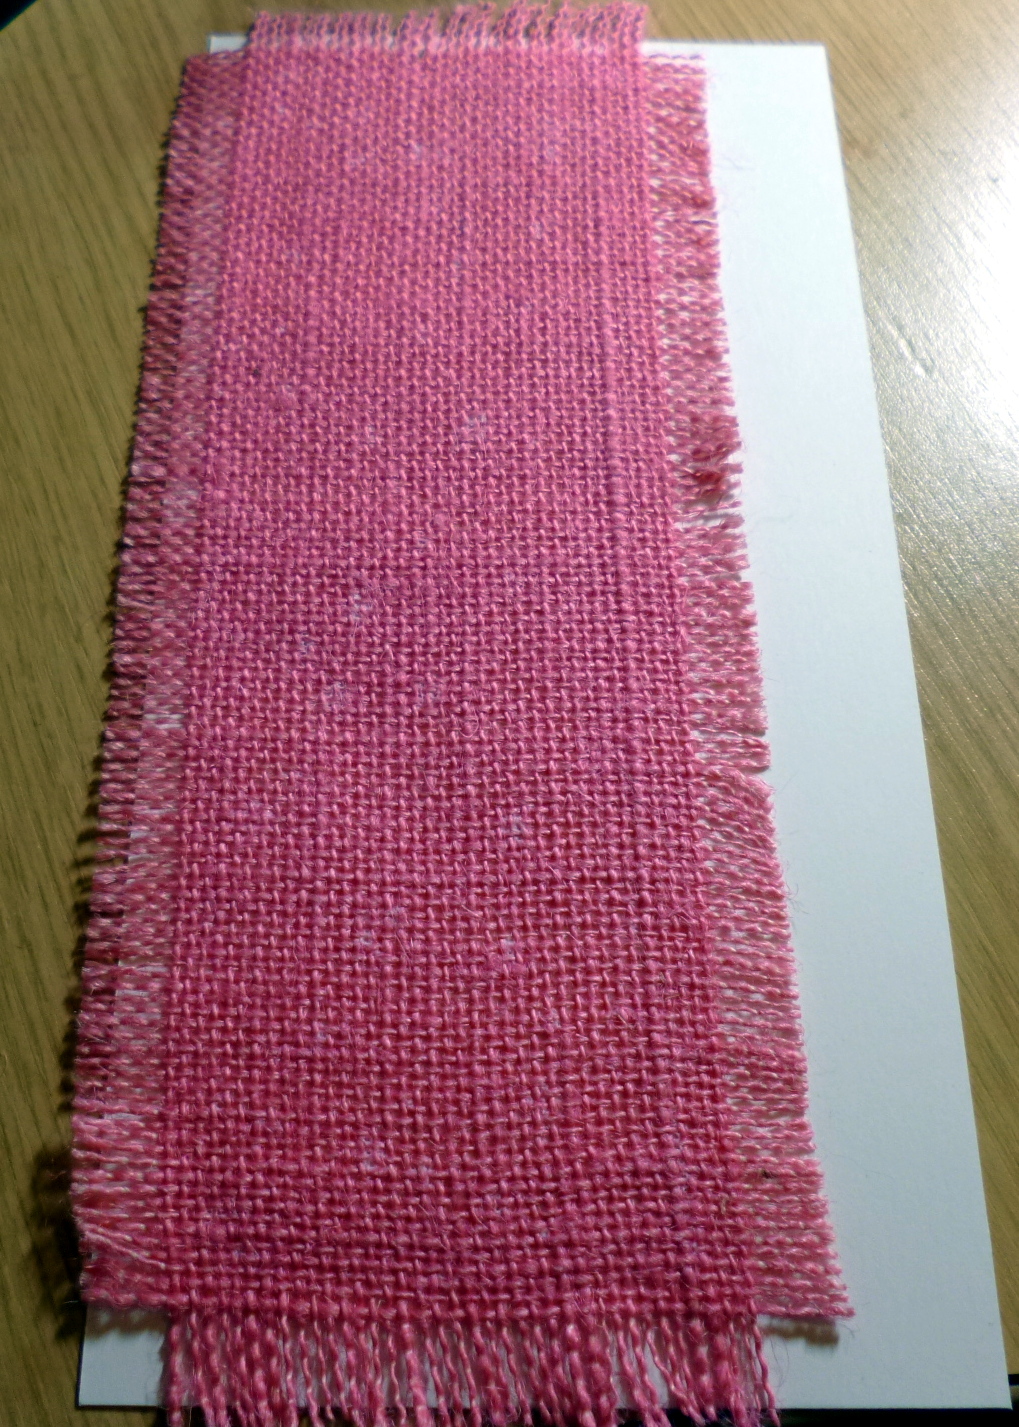


I used some dripped glue with some Frantage embossing powders and glitter to add some interest to the the top right of the card as I knew I was going to attach something above this.

I stamped this lovely sentiment out and tore the edges inking the same way as the last piece with raisin and a little Walnut stain. Raising it up on to foam and adding it on a jaunty angle to the card front.

Next I took a plain white resin piece, which was a side on butterfly or moth one or the other and added some pink to it with a Promarker and the added glued and cover in glitters. This I glued above the embossing we did and to the to right of the sentiment.

Here is a close up.


Here is the finished item again.
The stamps I used were .

The best days.

Revolution.
I hope you enjoyed this one and you can see what you can do with just a couple of fabulous stamps and some hessian and glitter too.
Thanks for stopping by as always
Lots of love
Kim
XXXX
Love this card Kim it's beautiful I send you love and hugs and yes he is always with you
ReplyDeleteLove always nanna June xxxxx
This is a gorgeous card Kim and the colours and the added texture and sparkle look fantastic. I was unaware of your loss and it must be so difficult when special occasions come up but your memories can never be taken away. x
ReplyDeleteHi Kim this is gorgeous thank you for the step by step inspiration. It must be such a difficult time for you. My thoughts are with you. Hugs Jackie
ReplyDeleteMorning Kim
ReplyDeleteAnother stunner - just love it - thank you for your inspiration. I lost my father on 31th Oct few years ago now, but he is always in our thoughts
Hugs
Carol x
Amazing card and brilliant tutorial again Kim.. you never fail to wow us! Thank you so much... love it! xxx
ReplyDelete