
Thanks for all your kind comments on my card yesterday. Today is the turn of Creative Expressions and a step by step I did with the pet stamps that we used last month I thought I would show you this tutorial that was featured on the step by step worksheet we also create for from time to time I really loved this card I created and wanted to make sure you all got to see this one too for those who didn't see it featured on the worksheet.
So without further ado here is this cutie.

So to start I took my Backing stamp and covered it in Perfect medium sticky embossing ink and coated a piece of white card stock I used as detailed above the clear detail embossing powder form Creative Expressions and heat set it of course.

Next using these four Distress inks I created a Backing wit more of the Bundled sage centrally and the oranges and the Vintage photo on the very edges.

Using Jet Black Archival ink of course I stamped out my Image called 'The Triplets'. I think of all the pet images we used for January this was my favourite for sure.I heat set it to stop the ink from smudging with water based ink. I also stamped a matching sentiment.
Using Distress markers I began colouring this one.

I always try to use three of each shade to give shadows , highlights and a main colour. Its great fun adding tiny fur strokes and bringing these little fella's to life.
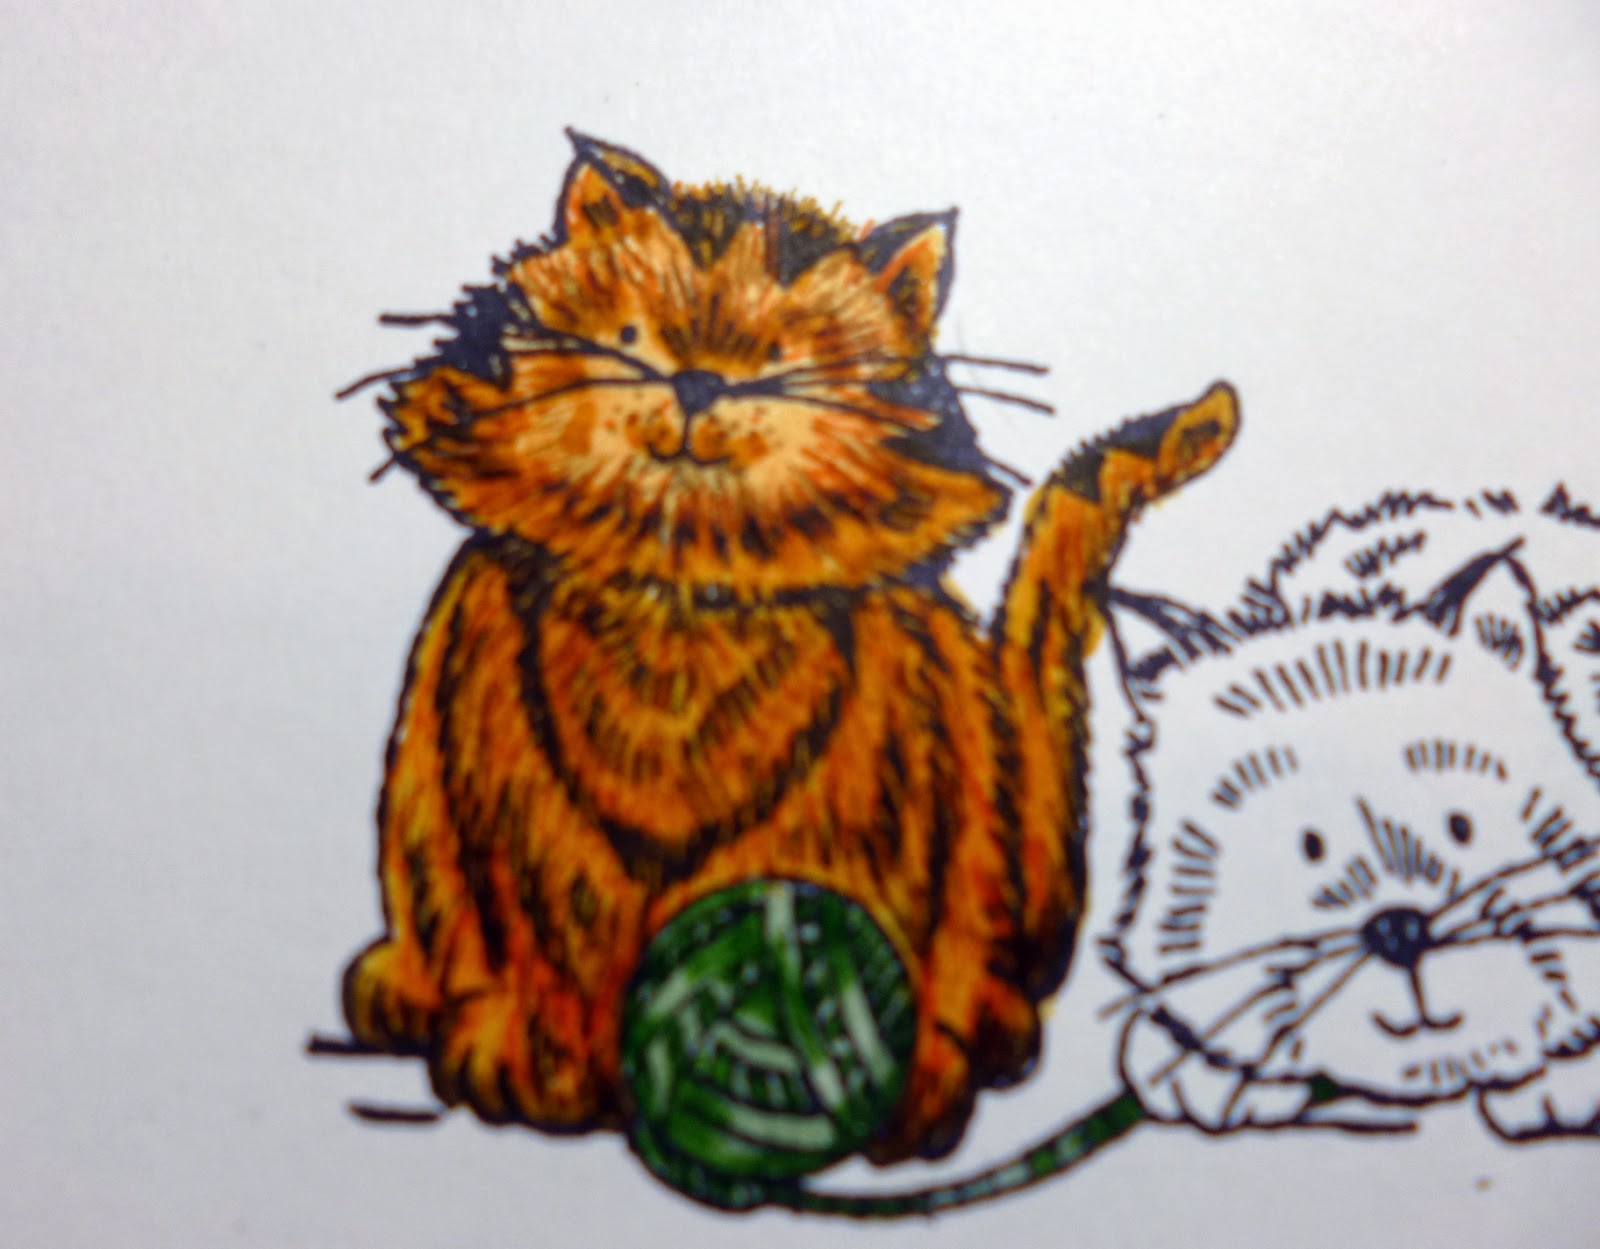
Each stroke of the fine tips adds depth and brings the character from a flat 2D image into a lifelike 3D image , I also used some white pen to open up the face and a white gel pen to add highlights in the fur also It is difficult for the camera to pick it up but it really does make a lot of difference and raise the image from the page creates the illusion to fool our eyes anyway.

I also added a shadow or two to ground the image and stop the cats looking like they were floating on the white back ground I used again three shades of alcohol marker to 'ground' these playful little chaps. Once coloured I mounted each piece onto a thin border of black card.

After adding these onto black I took my background I created earlier and also added it to black card and made a slightly larger black and white mat also. Using foam on the inked back ground I added each piece together wrapping a piece of thick ribbon around the lattice piece also.

This is what the background should look like finished ready for the main image and sentiment.

I took a close up of the finished coloured image with shadows and highlights etc.

I added my sentiment onto the ribbon strip and tied a matching bow with an opaque green dazzler to cover the knot. I cut the ends into forks for that real chocolate box shape bow.
I of course attached all the pieces using Cosmic shimmer glue which I love.

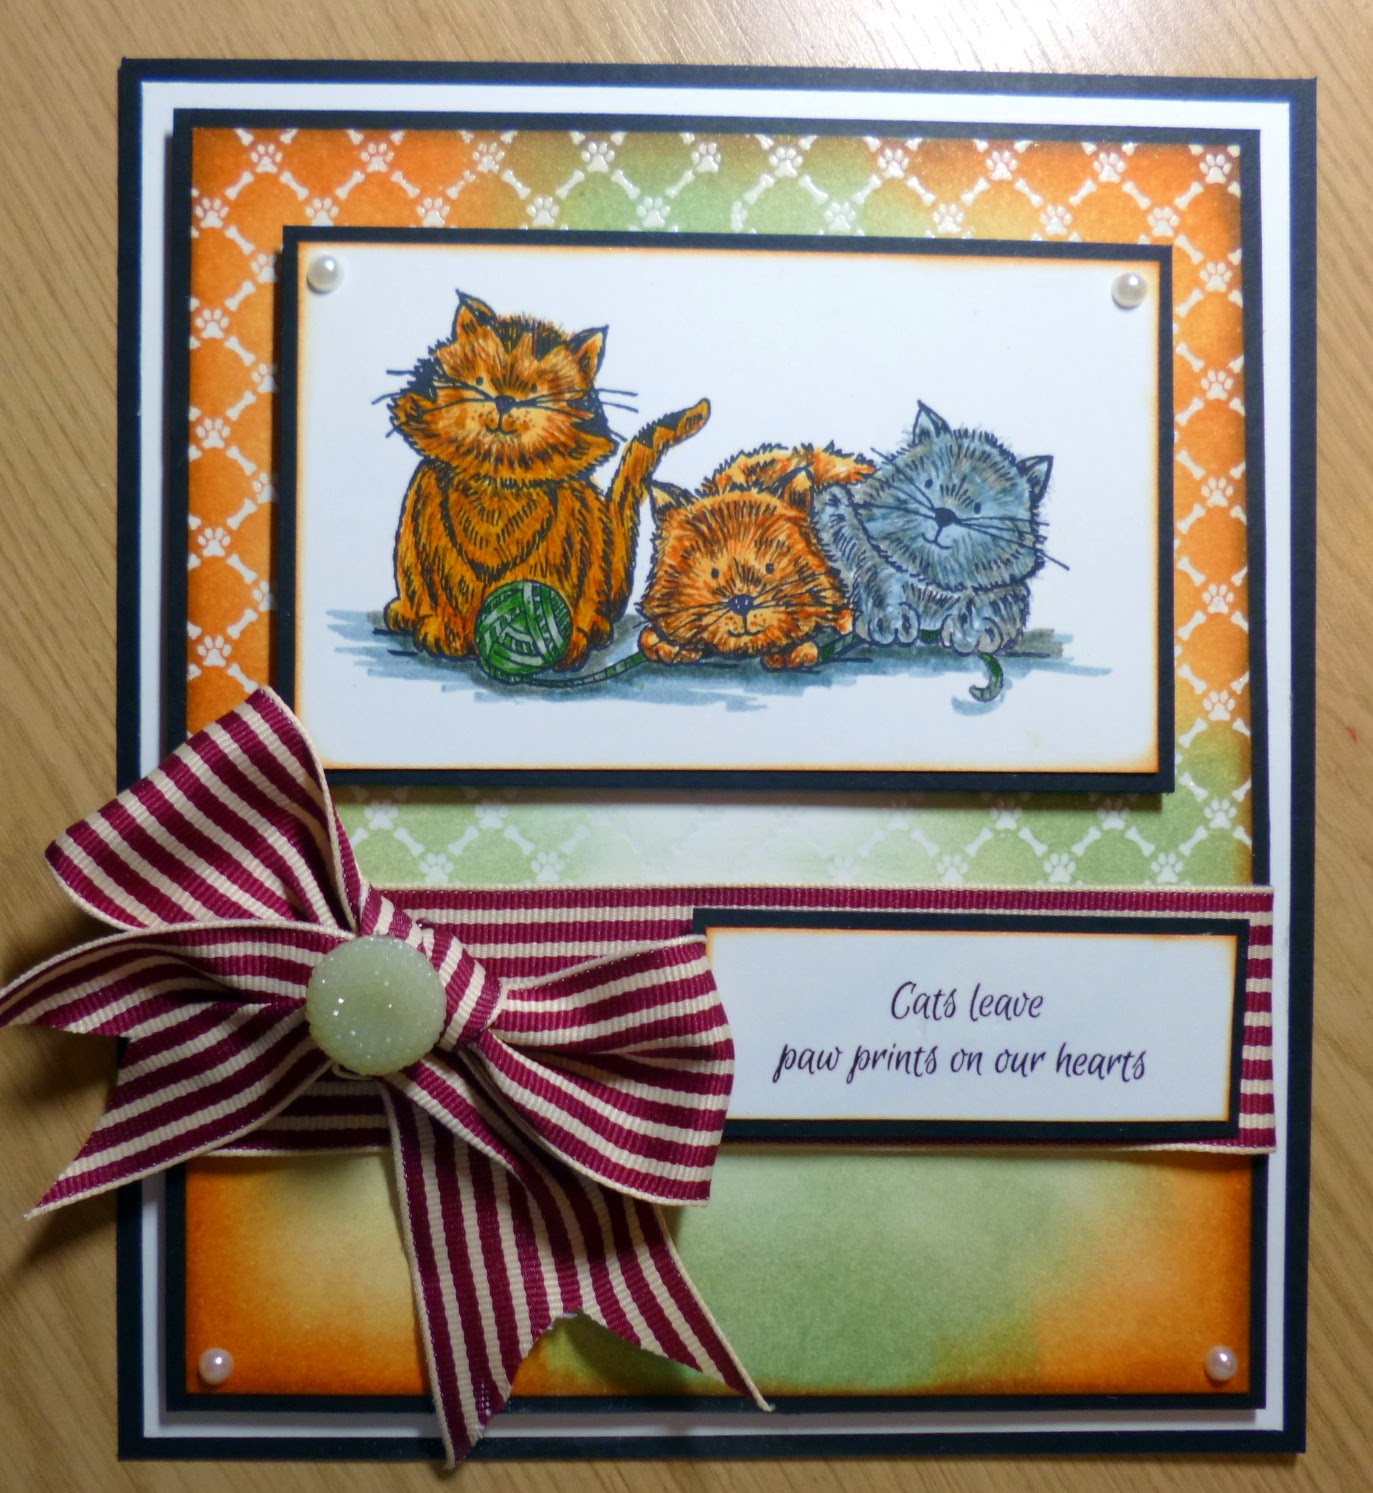
The finishing touches were just a few pearls and this little card was complete.
Here again is the completed image.
I was really pleased how this one turned out with its vibrant colours and how all the colours went together so well. I certainly never thought this ribbon would look so lovely on the card but I love it.
I hope you enjoyed how it was put together and the colours I used to colour the images and match the backings. They are some of my ultimate favourites to blend.
Have a wonderful Creative Expressions Thursday and I will speak to you all very soon, next months DT pack is so stunning and I love it so look out for the coming images from the team next month with all the gorgeous images.
Lots of love
Kim
XXXX
Hello Kim, a really great card, love the colouring and the background colours. Have a good day. Bx
ReplyDeleteHi Kim this is a gorgeous card I love the cats they are so cute and the background is amazing. Hugs Jackie
ReplyDeleteLovely card Kim, great colours,
ReplyDeleteXxxRuth
Hi Kim the cats are wonderful as is how you have coloured them. Like the background too. Thank you for the explanation of how its donex
ReplyDeleteMorning Kim, A gorgeous card, fabulous tutorial, I especially love your background and the colours are fantastic.
ReplyDeleteLots of love from Patricia xx
Morning Kim
ReplyDeleteThank you for another beautiful card and the tutorial.
Love how you do your background - I need a workshop with you
Hugs
Carol x
Hi Kim,
ReplyDeletelovely card, the colours are fabulous, right up my street. I wouldn't have dreamt of putting that colour ribbon with it but it works well. Just goes to show, one should never be afraid of trying things out.
Hugs, Rose
Hi Kim, how are you? A beautiful card. Love how the distress inks blend together.
ReplyDeleteLove the card kim thank you your work is so clever love it xxxxx love always nanna June xxxxx
ReplyDeleteEvening Kim, love the background blending on this piece of work, great colours you have chosen and I'd course a very cute stamp for the centre piece.
ReplyDeleteThis is a really lovely card Kim and the three cats are so cute. The background embossed stamping is enhanced so prettily by the lovely colour inks you have used and I also love that striped ribbon and the other embellishments which are perfect finishing touches. x
ReplyDeleteLovely card but I'm not really a cat lover
ReplyDelete